Itinerary - South West Road Trip

I’m going to keep this post short and sweet, while giving you all the info you came here for. In a word, the trip was AMAZING!!!!
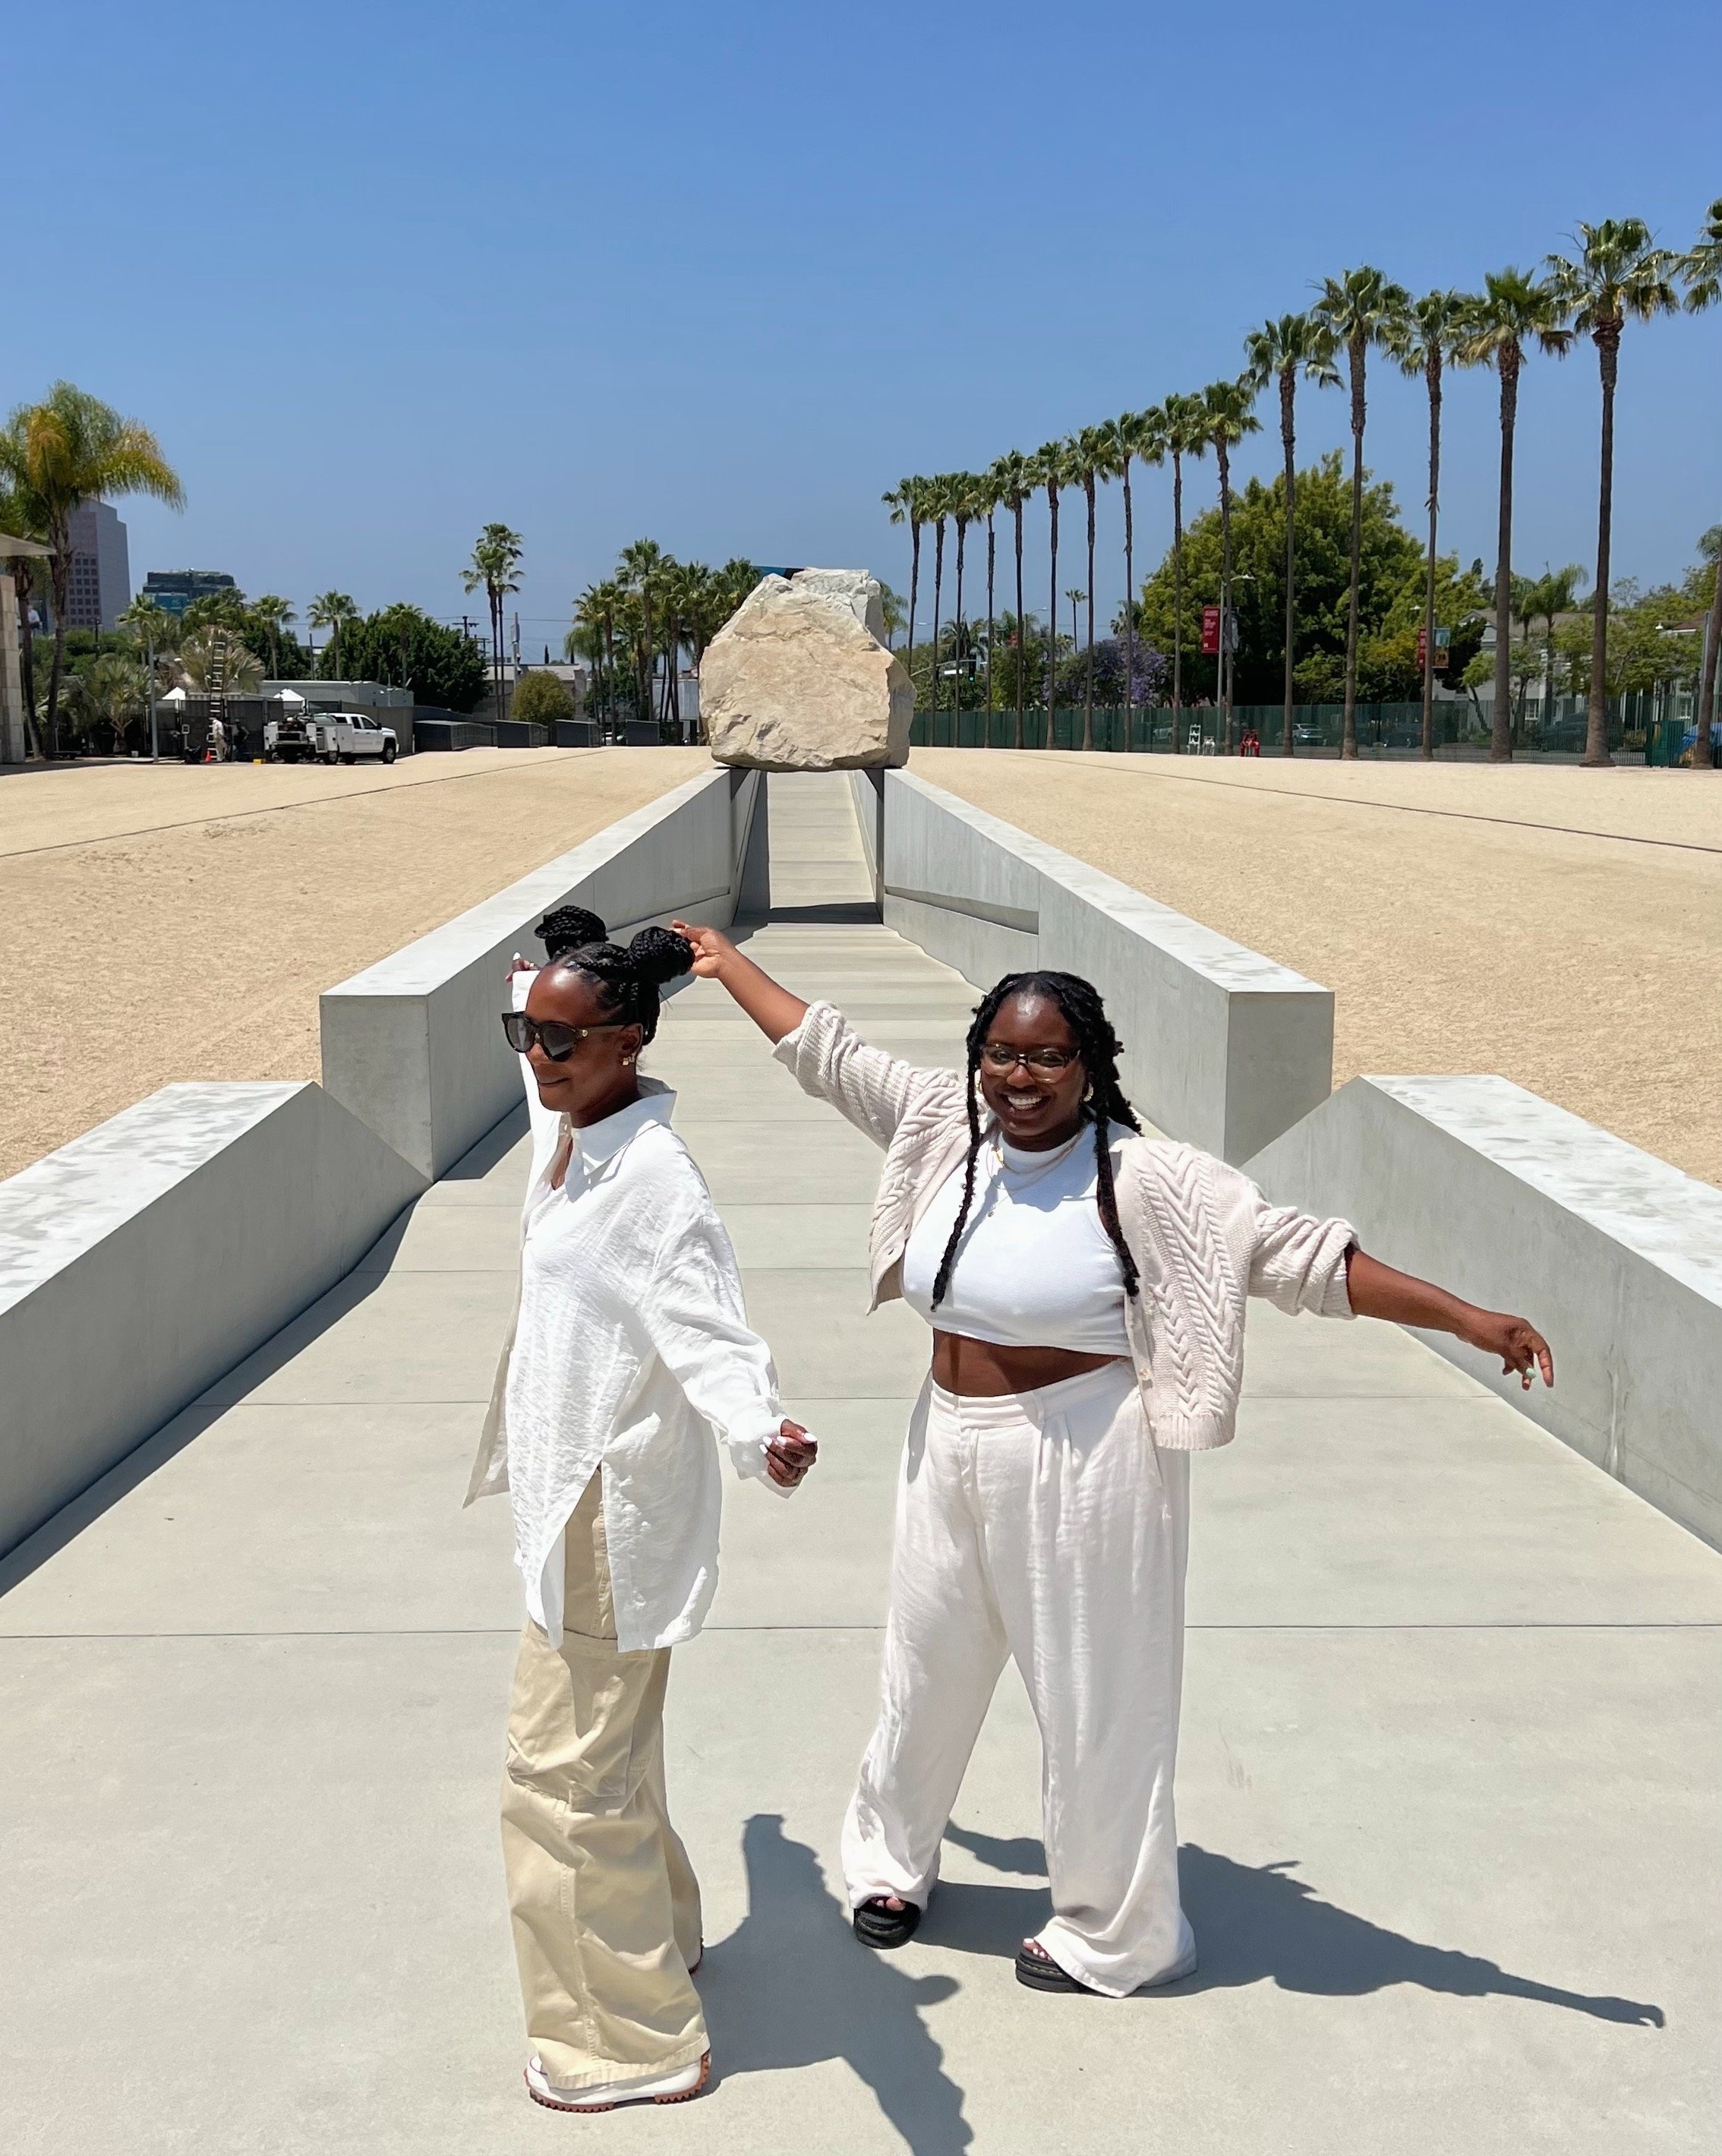
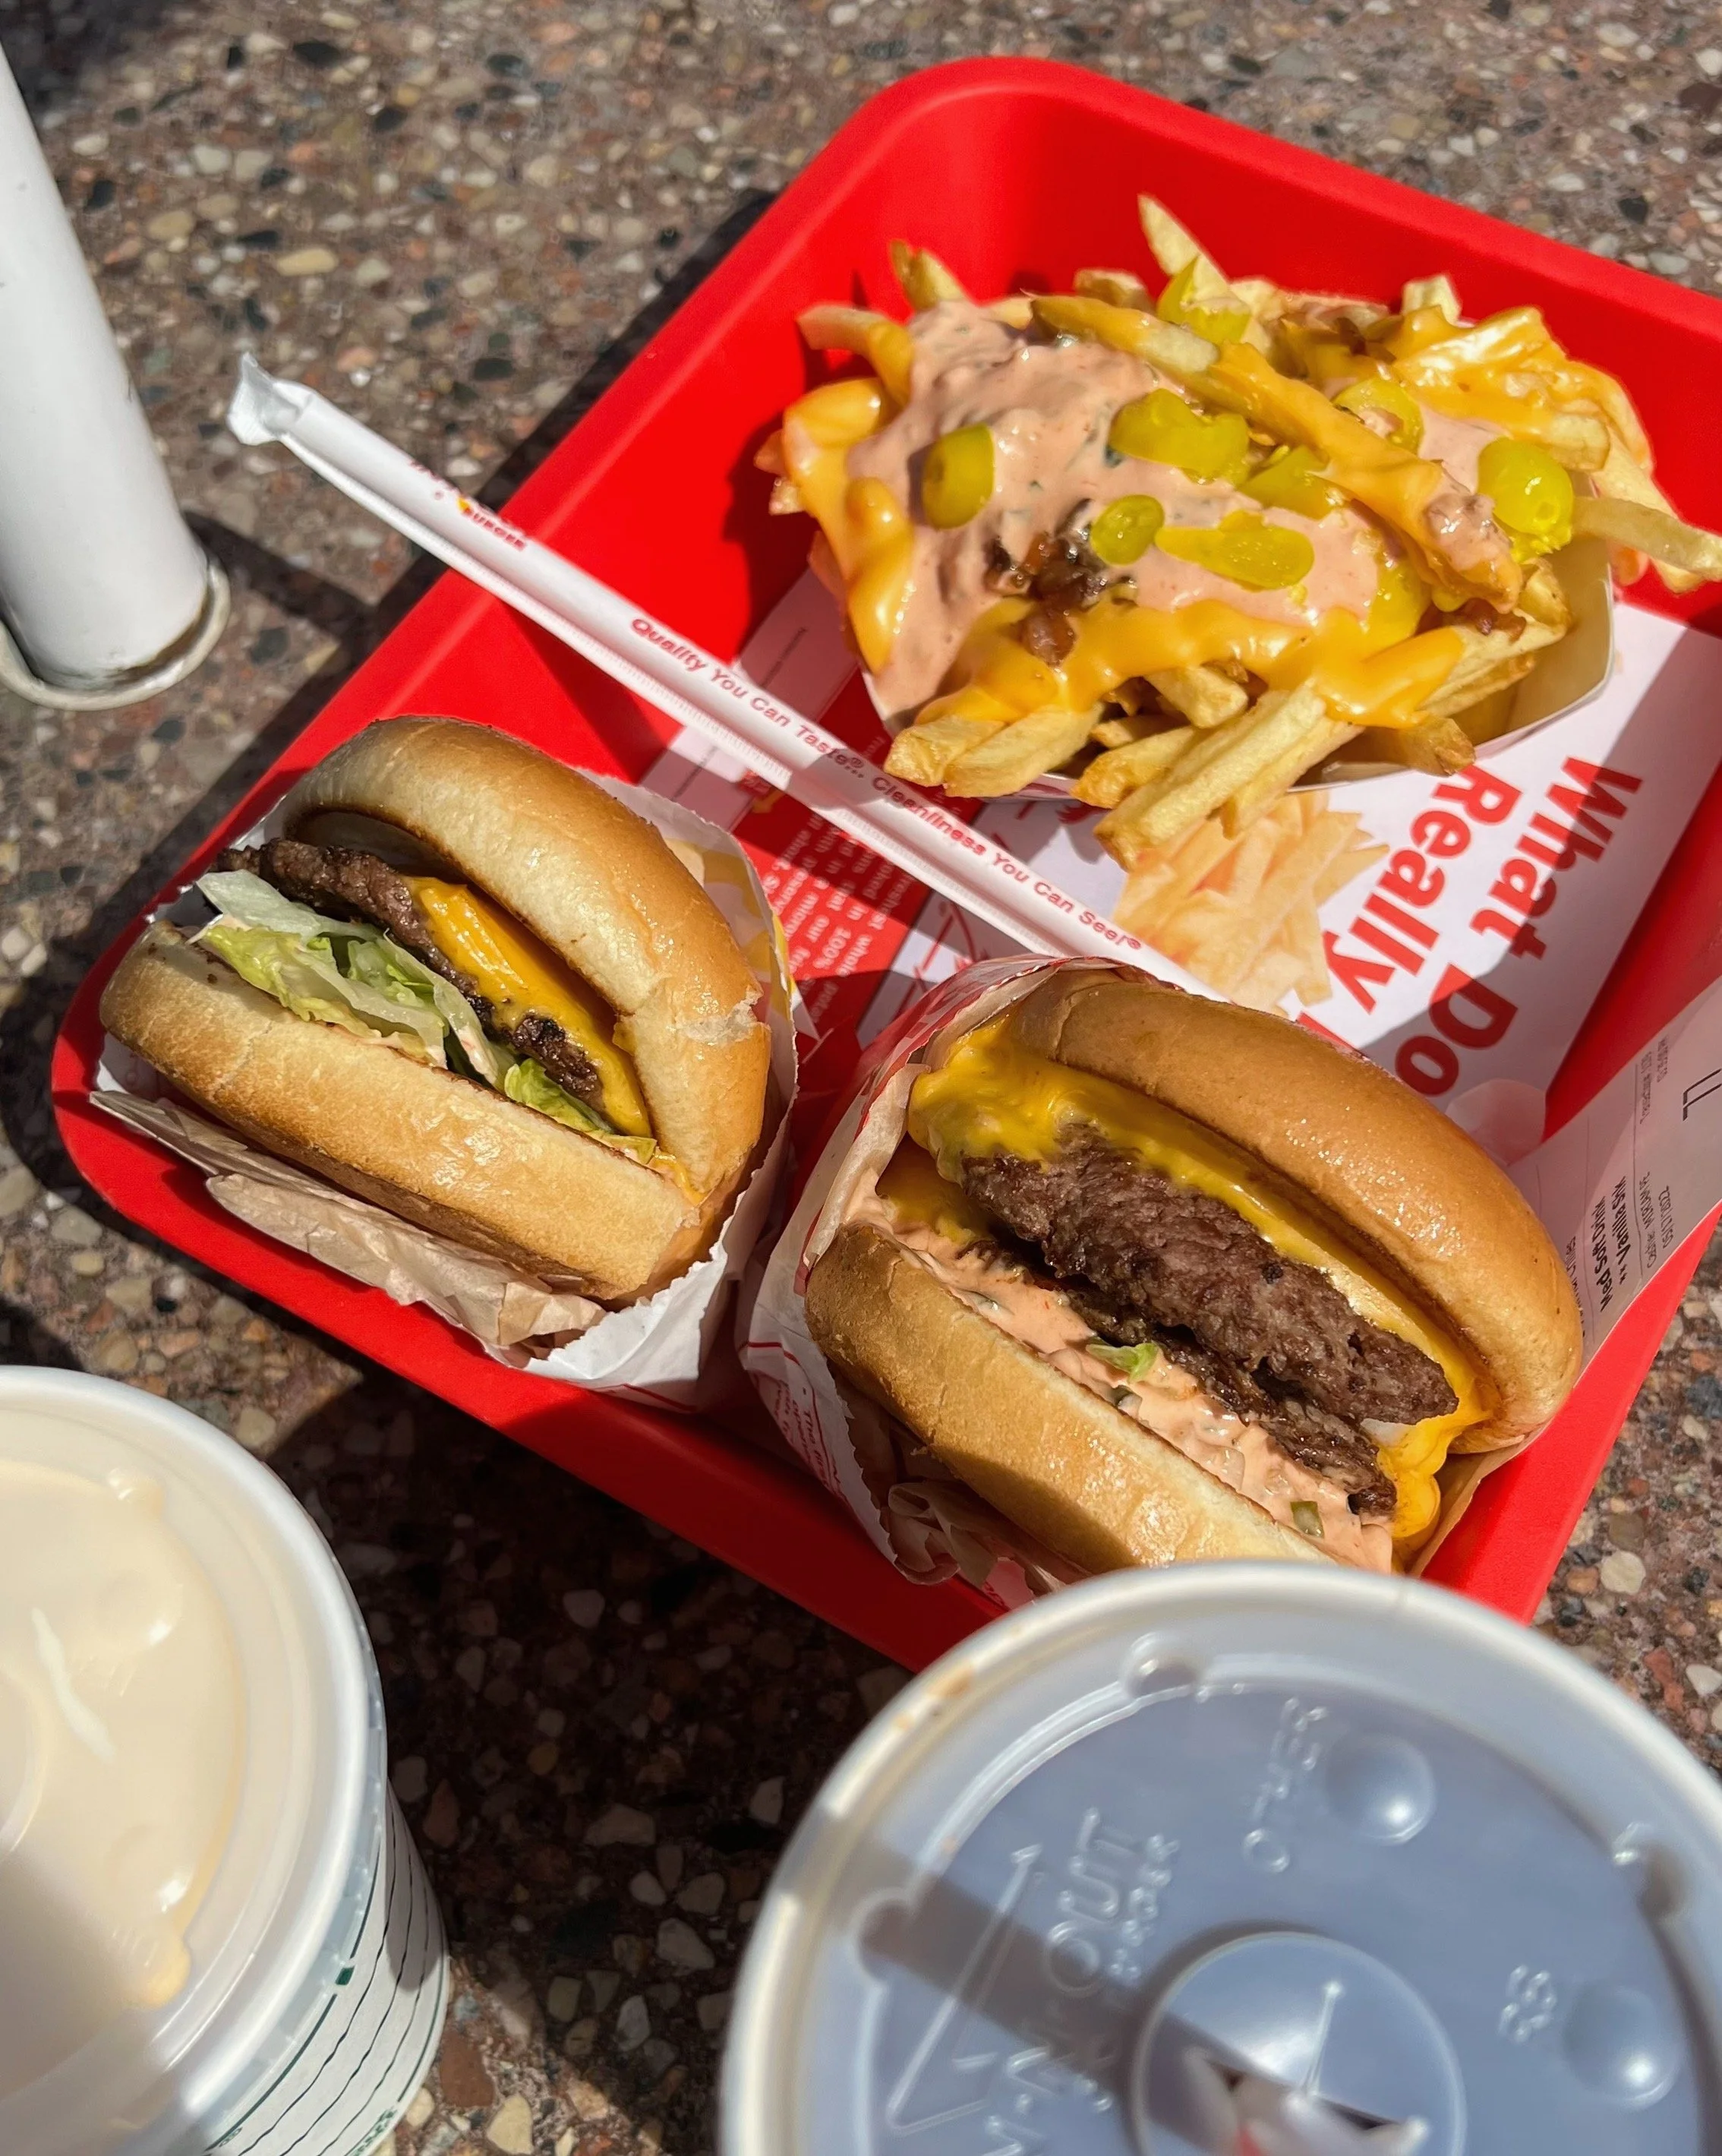

Los Angeles

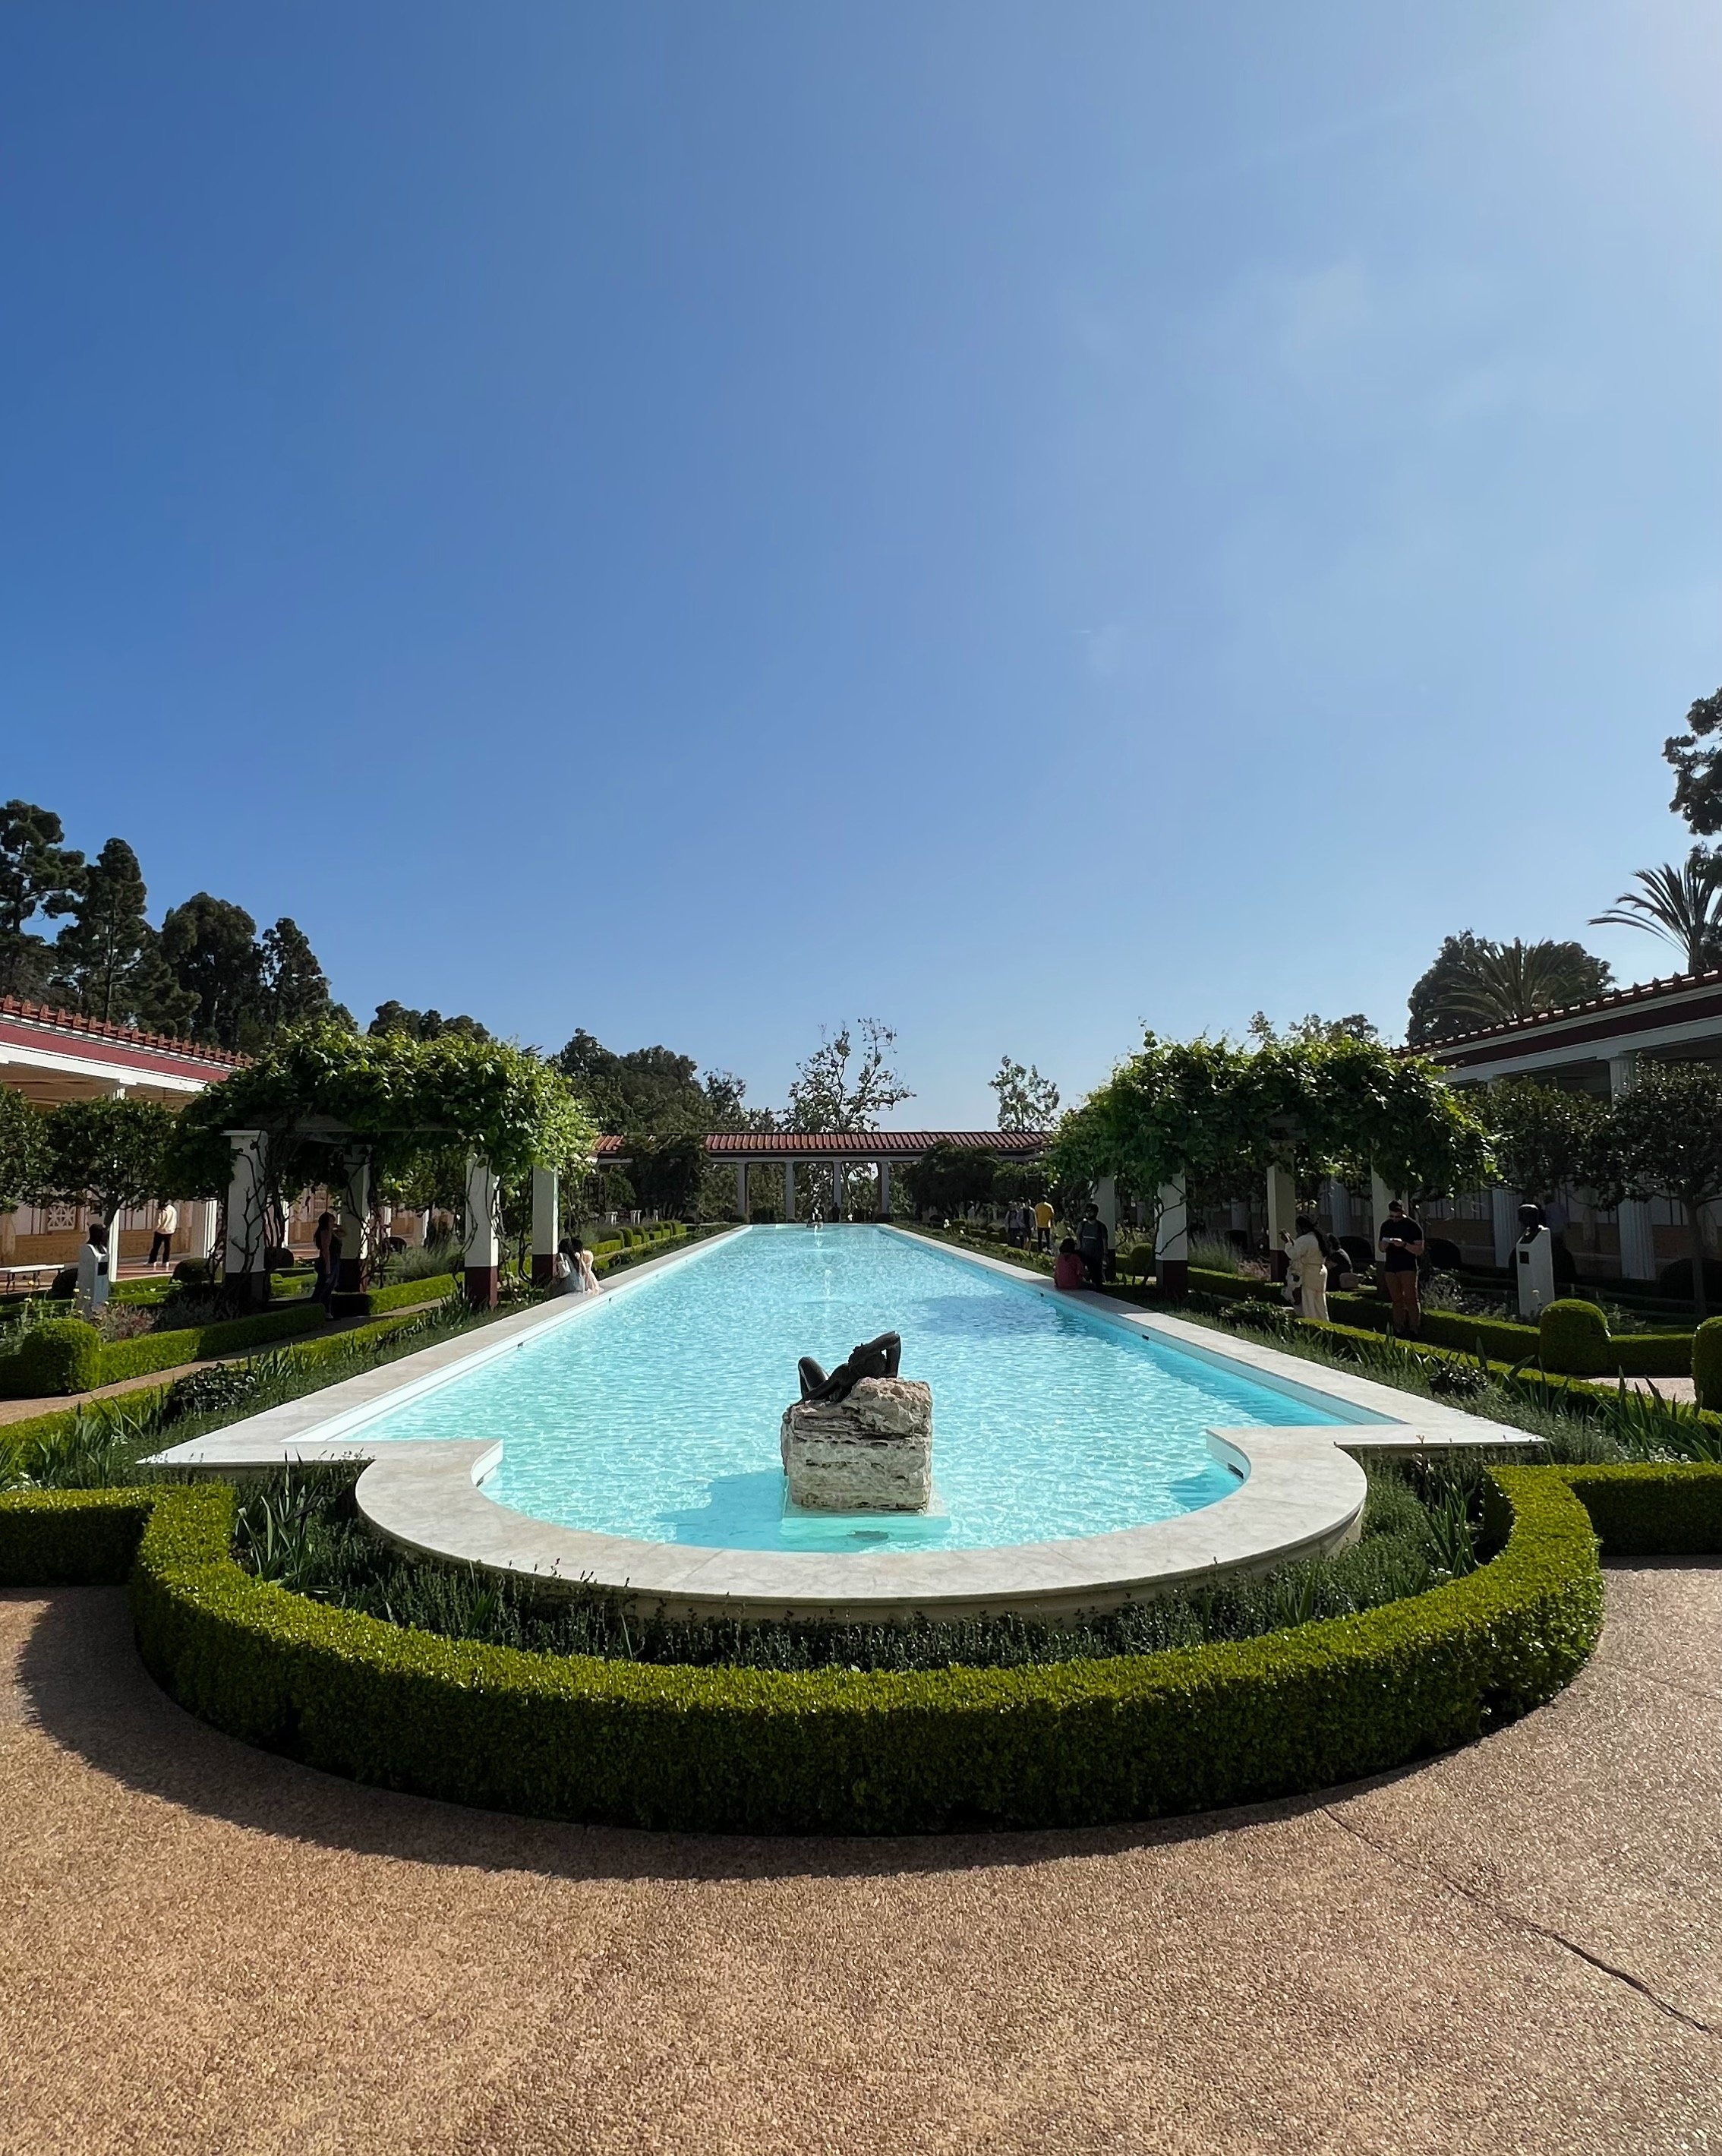
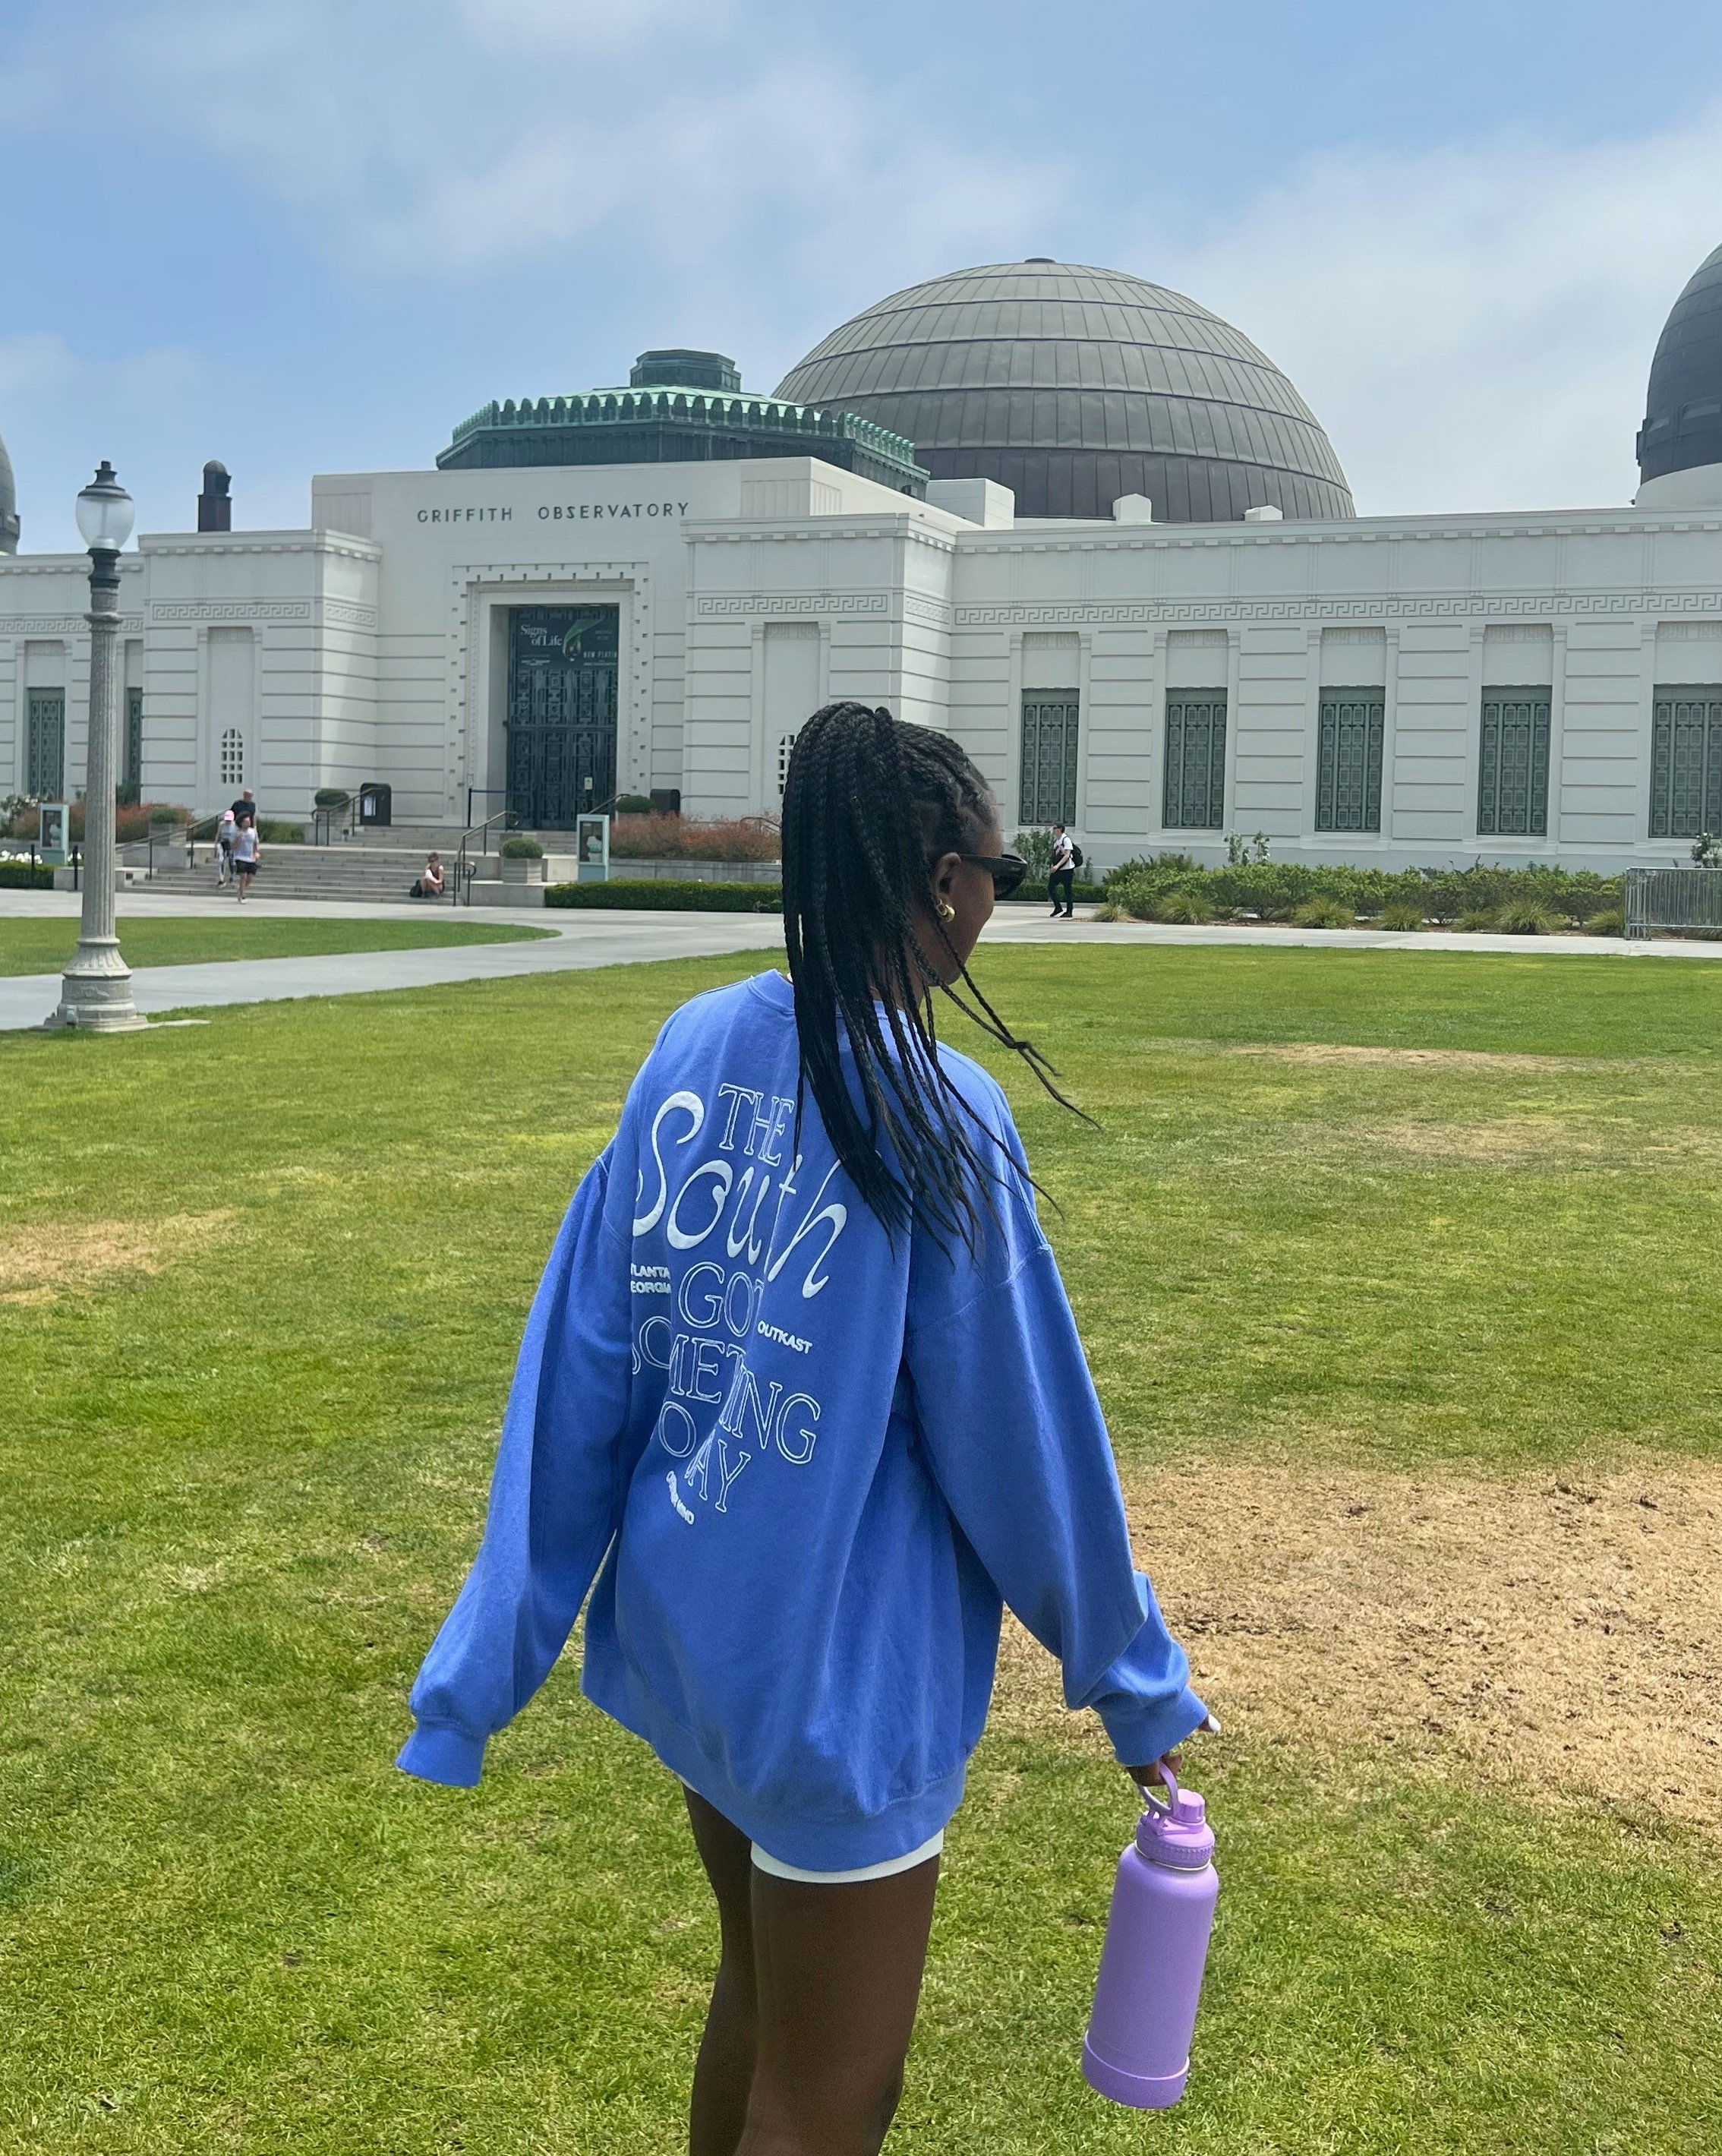
We flew into LAX, immediately grabbed a burger at IN-N-OUT, rented a car, and headed to the beautiful Silverlake Pool & Inn. Designed by Avi Brush, our 2 night stay was comfortable, pretty, and conveniently located in the Silverlake area. Close to attractions like the Griffith Observatory and cute local restaurants. Quick mentions: Bacari restaurant was incredible, and Tiki Ti Bar was a must do.
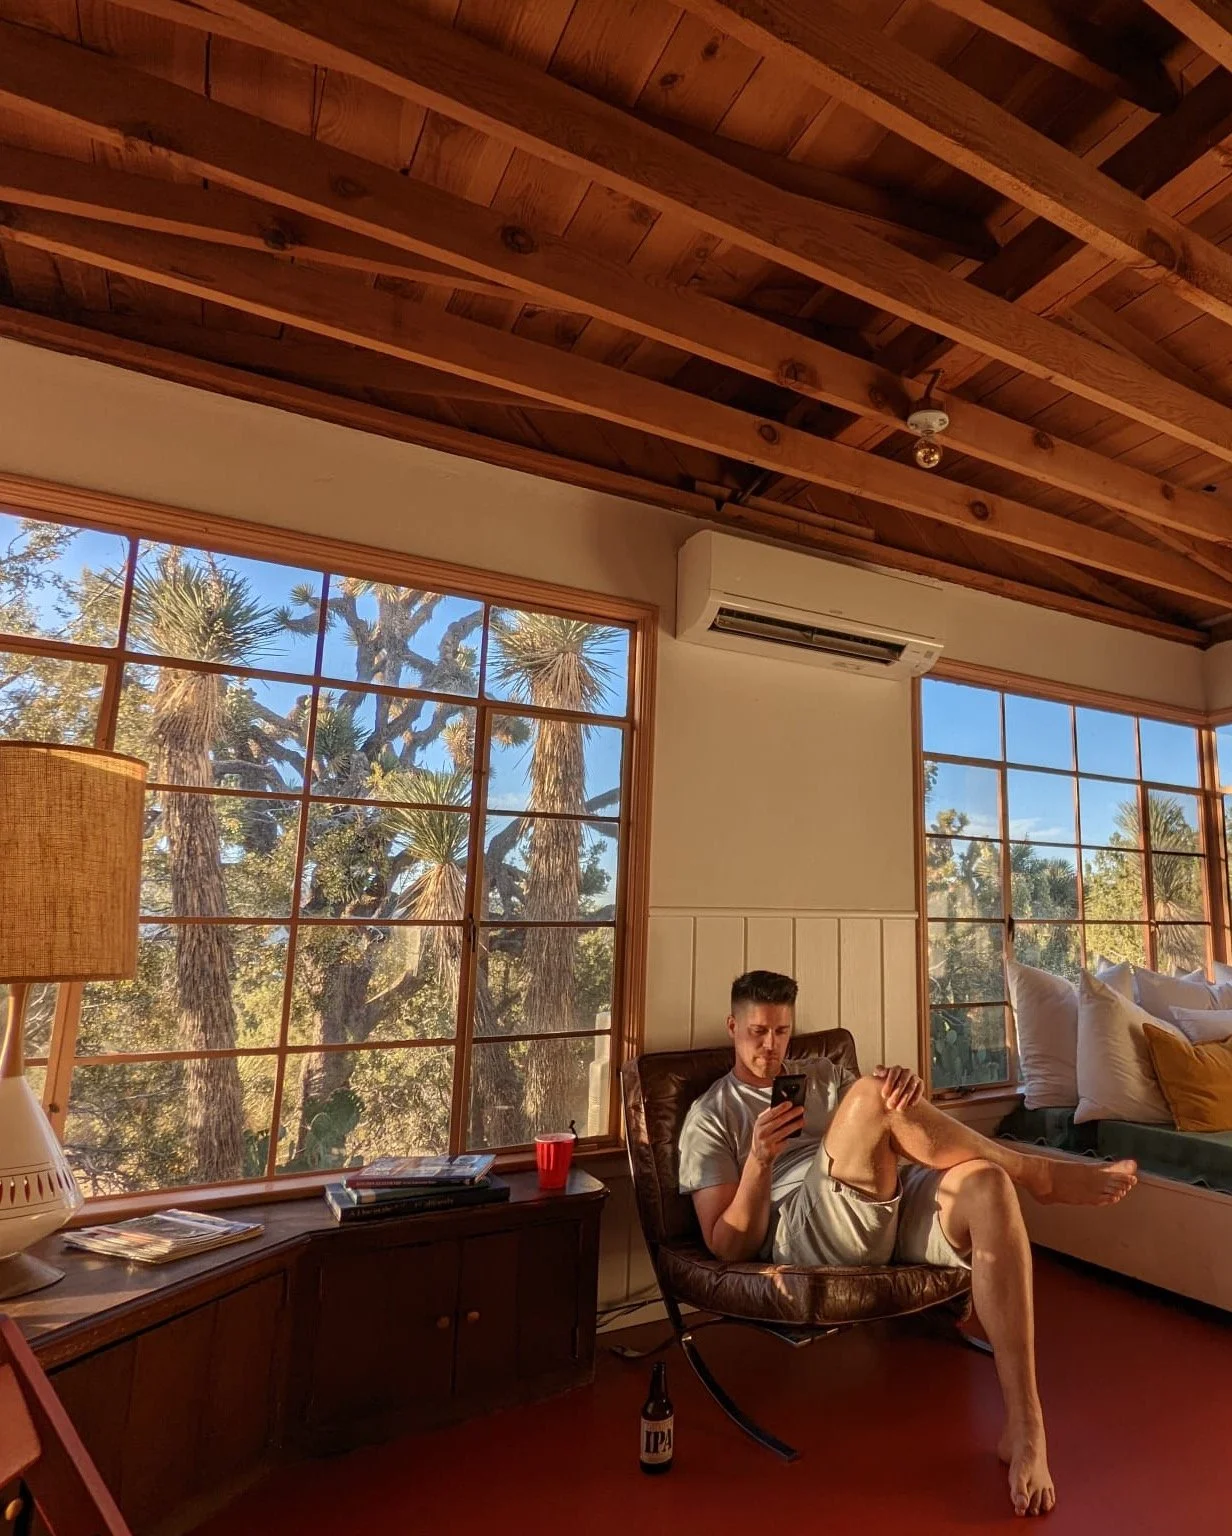
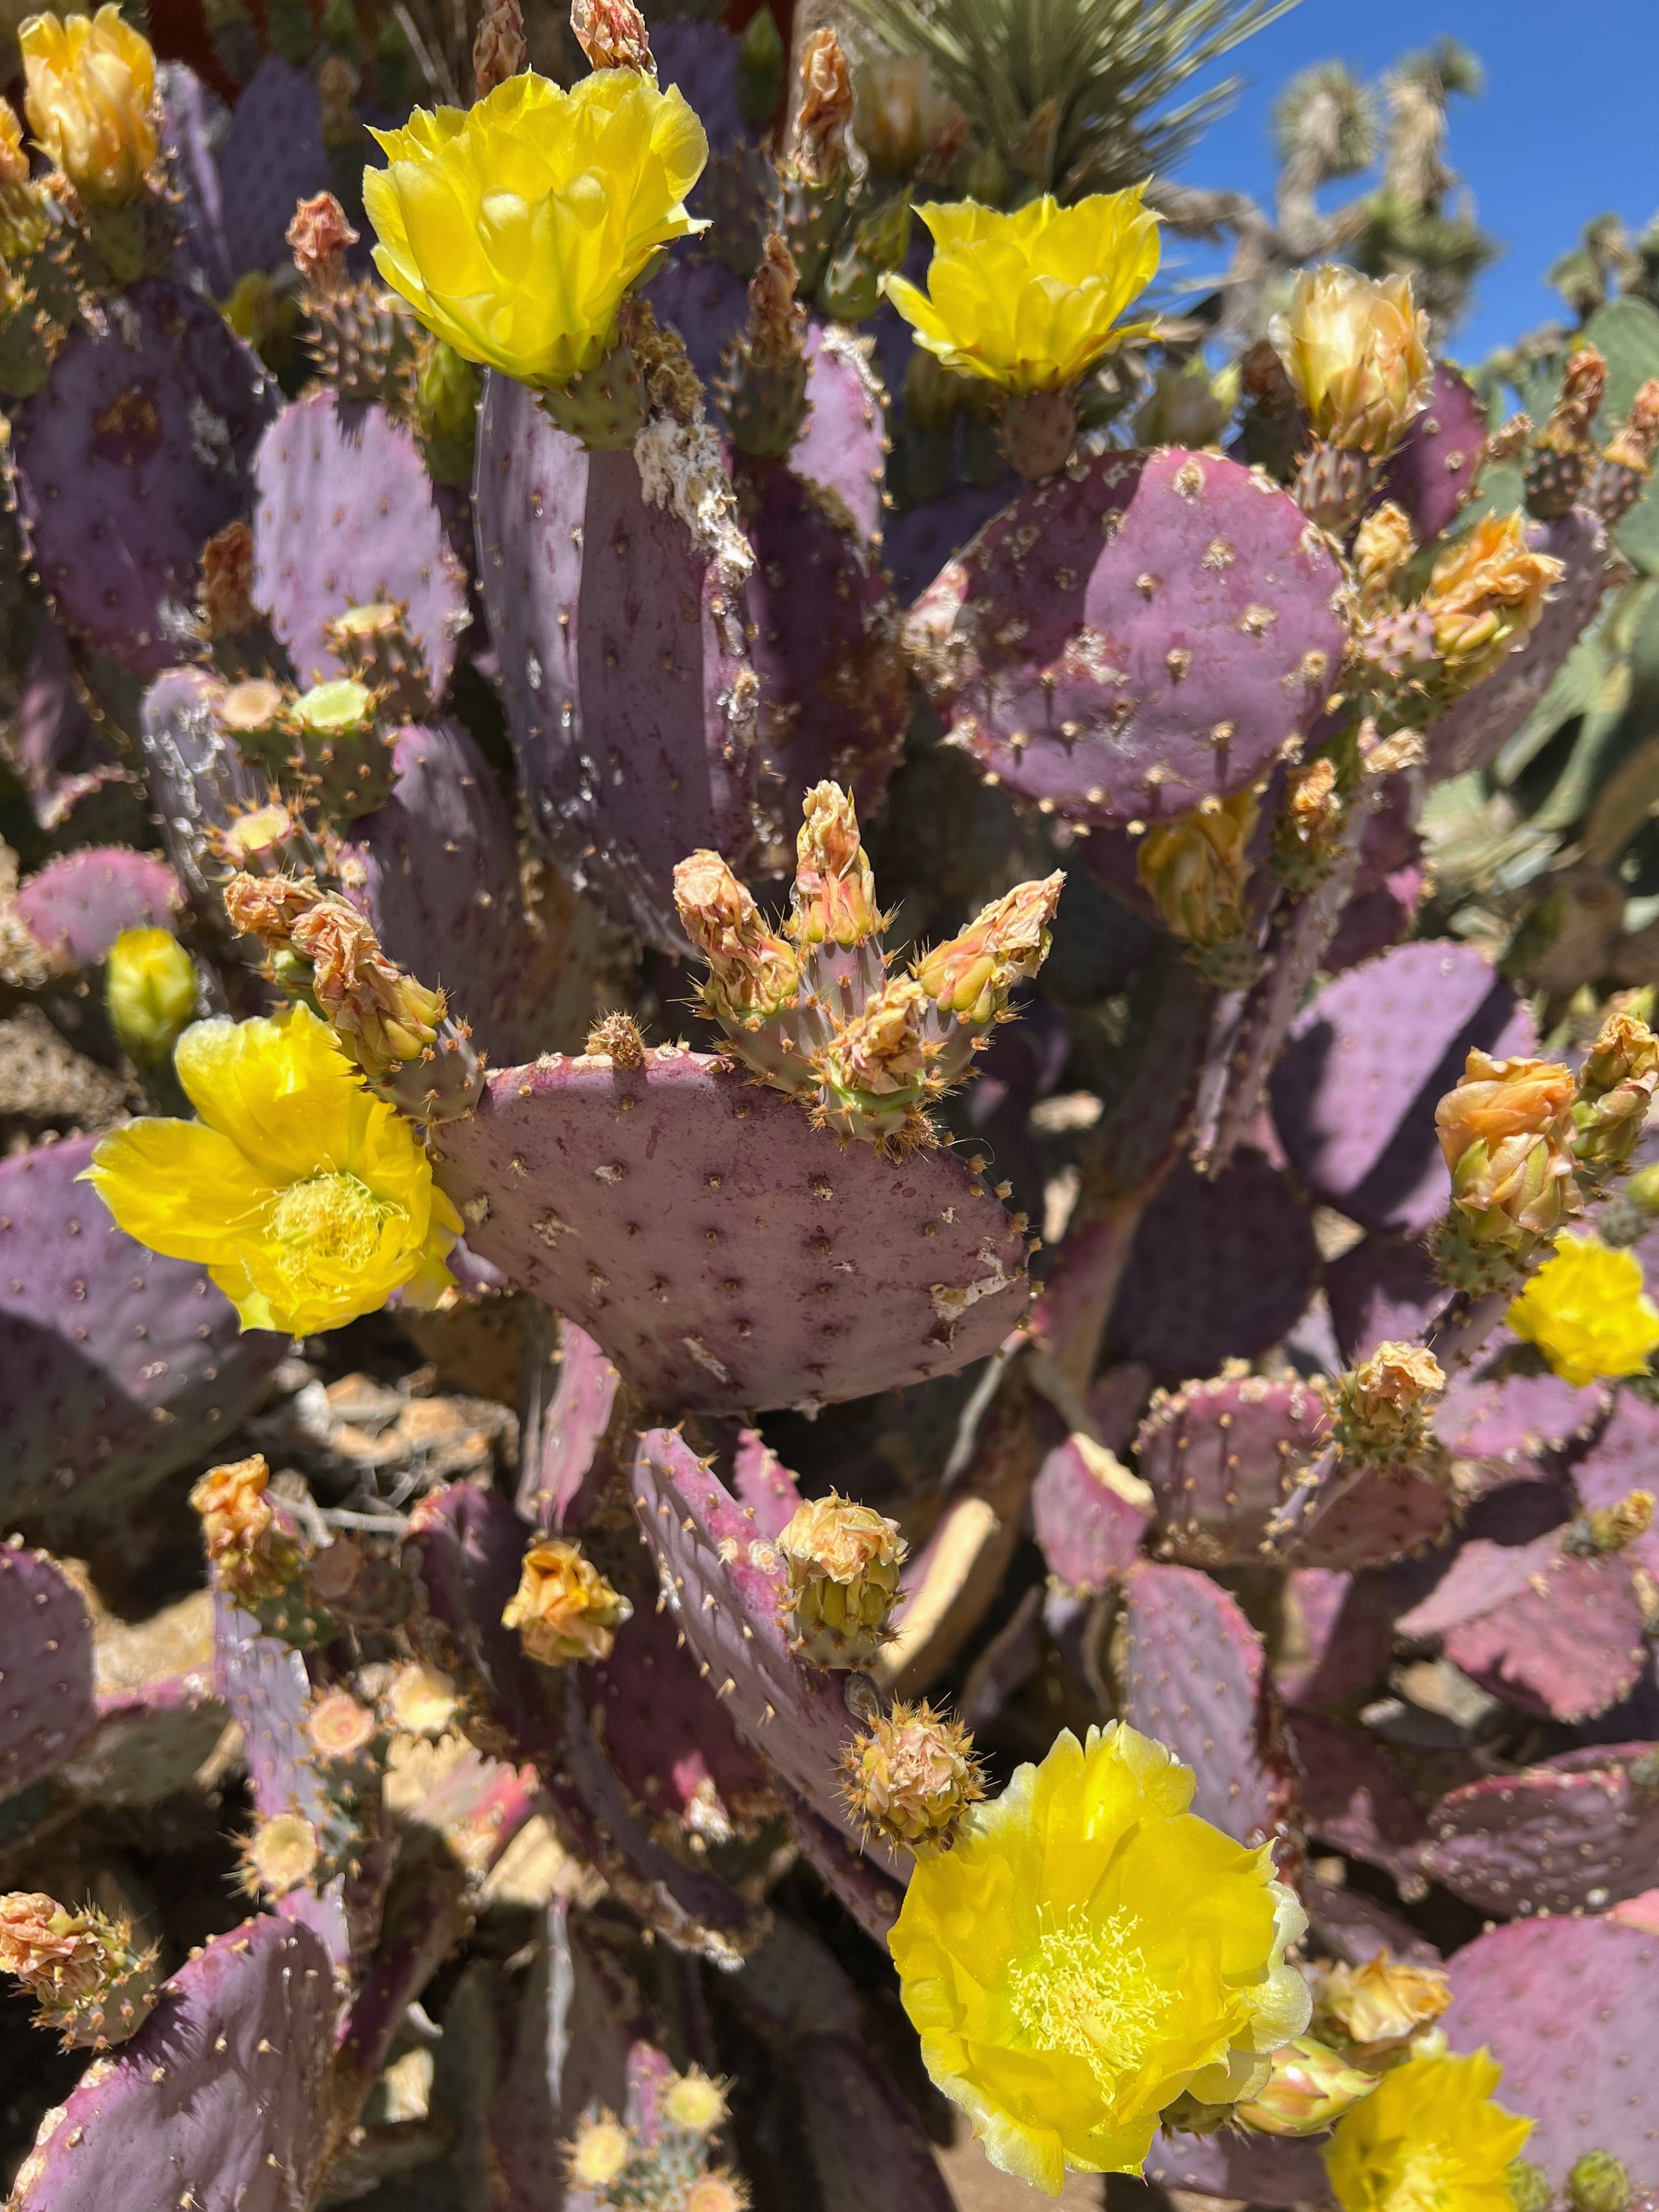
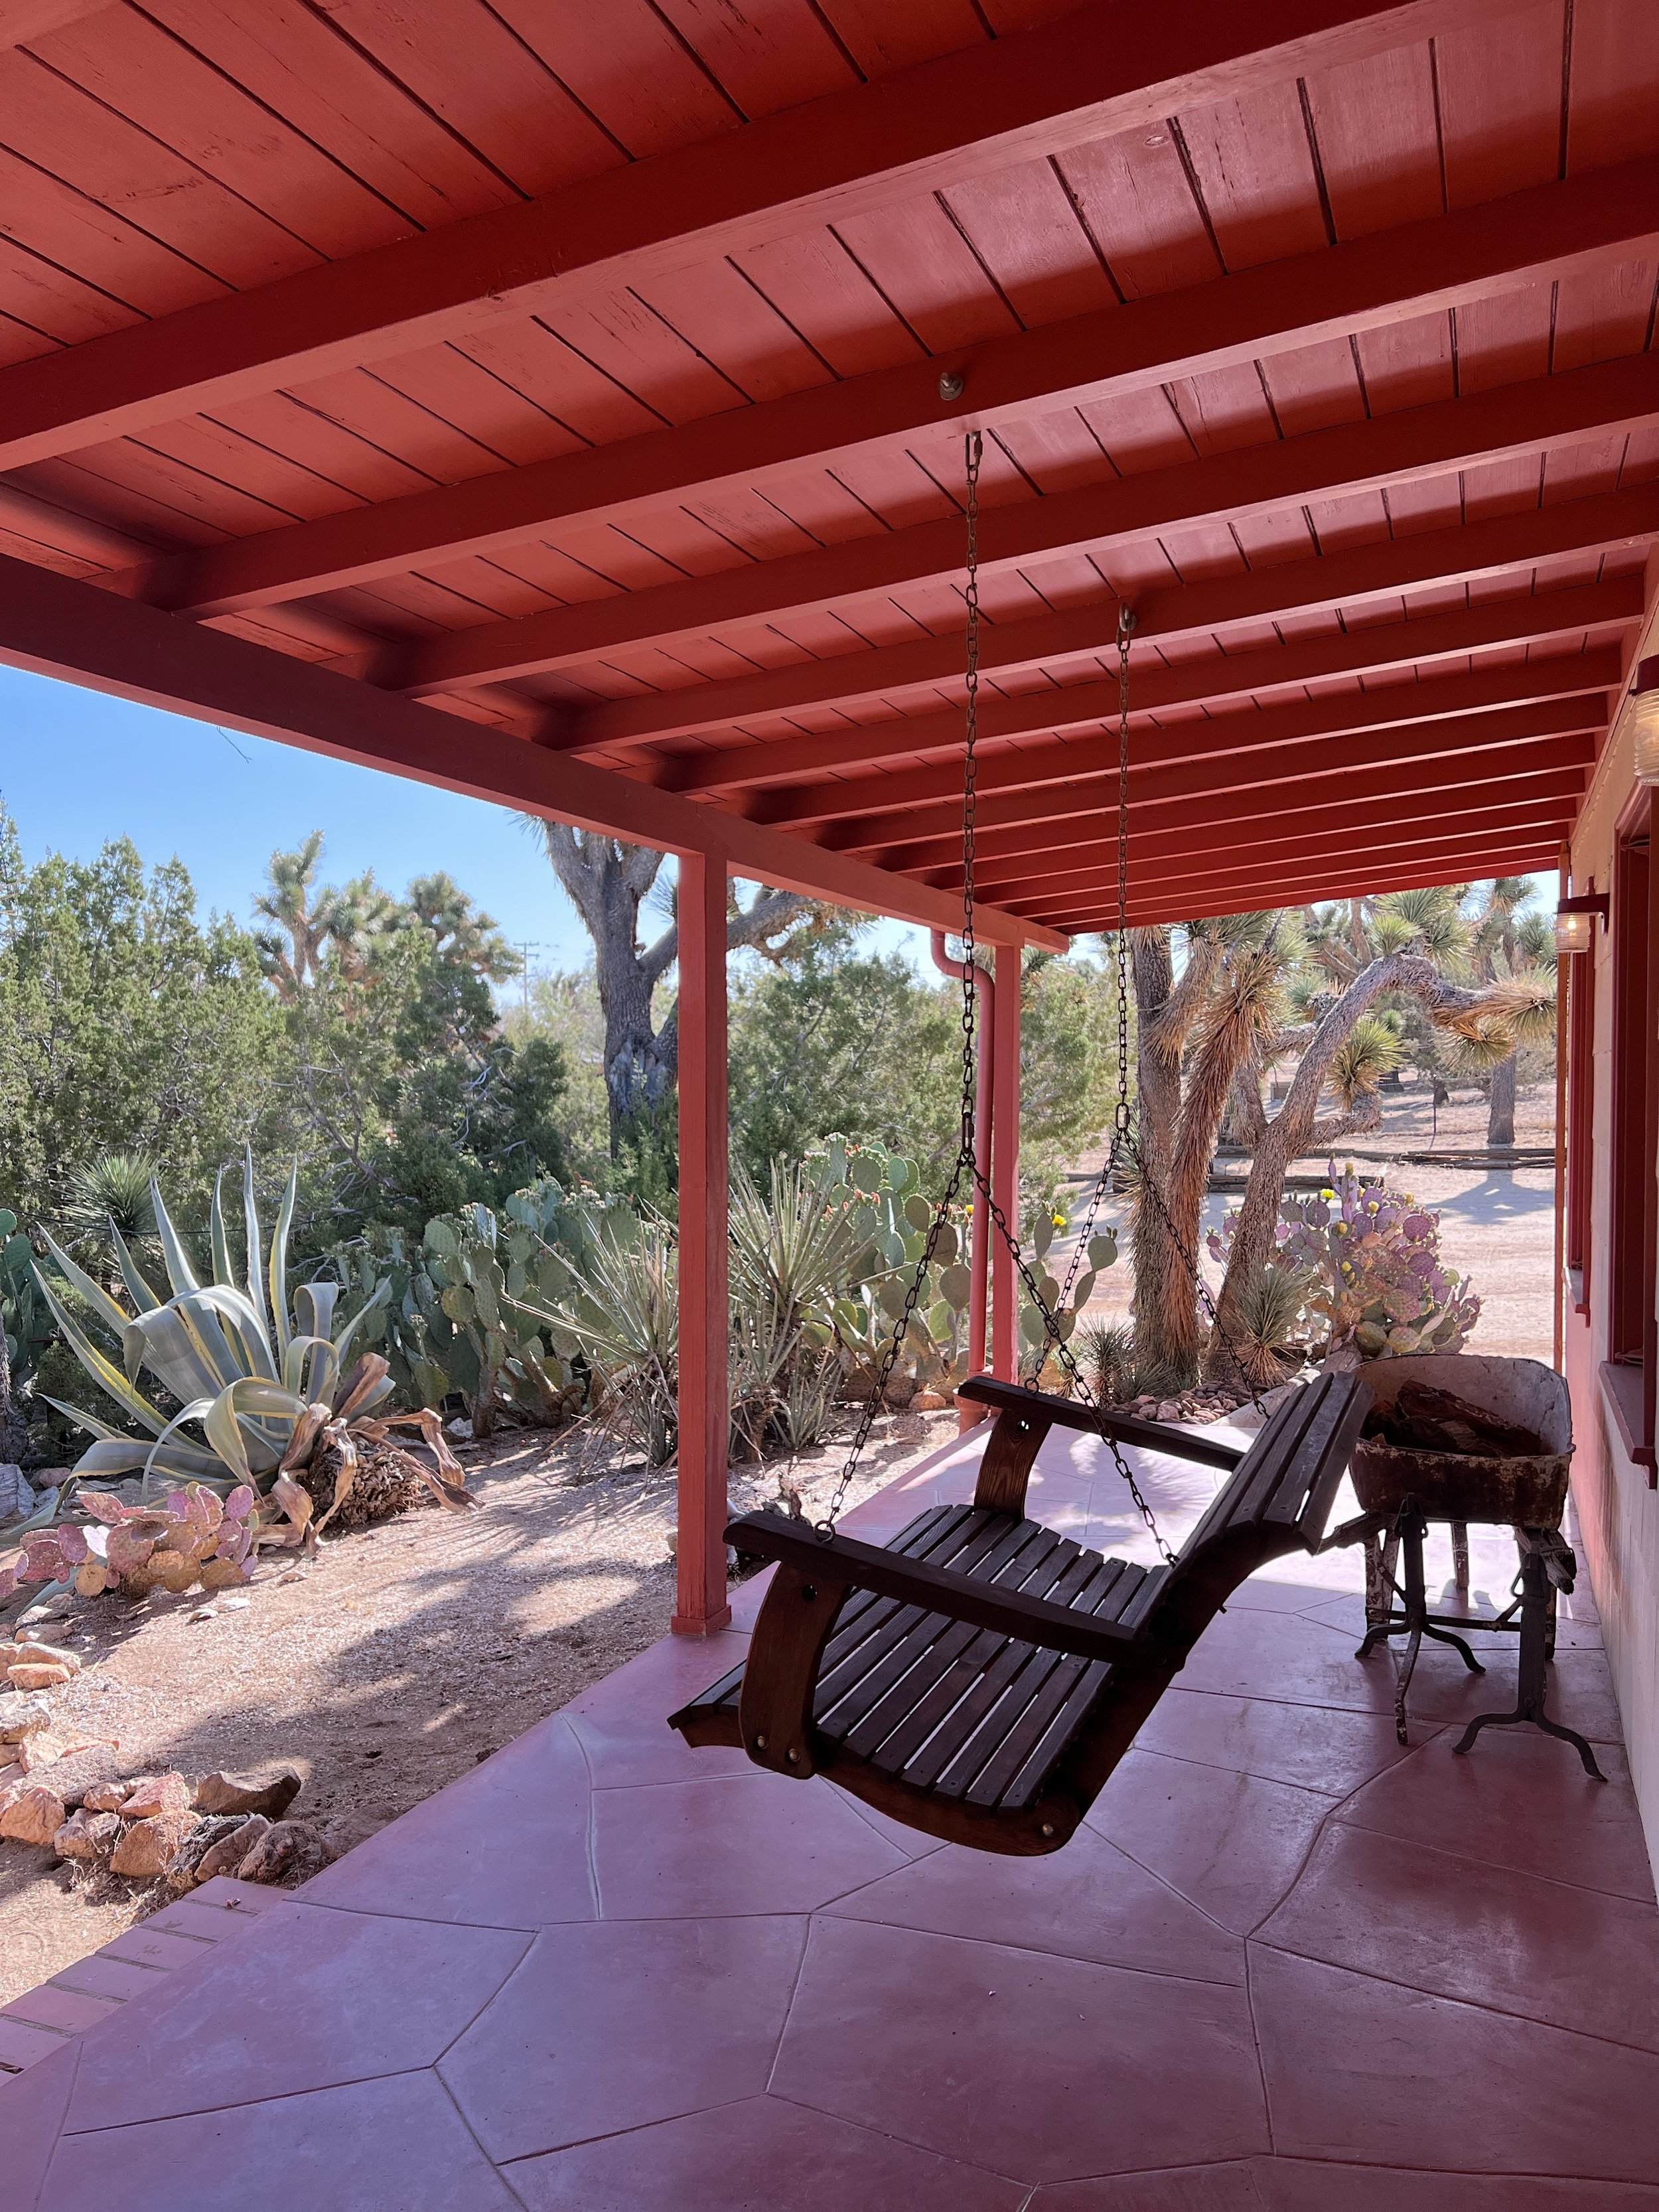

Joshua Tree

From the city to the desert. One tip, don’t leave at rush hour, it took us 4 hours to get there when it should have been 2. But the drive was pretty, and Joshua Tree is magical. Props to my friend for finding this RANCH. It was a large property in the little town of Yucca Valley, just outside of The Joshua Tree National Park. I loved it so much I checked Zillow to see if it was for sale. It wasn’t. The sunsets on the property were stunning as expected. 10/10 would rent again.
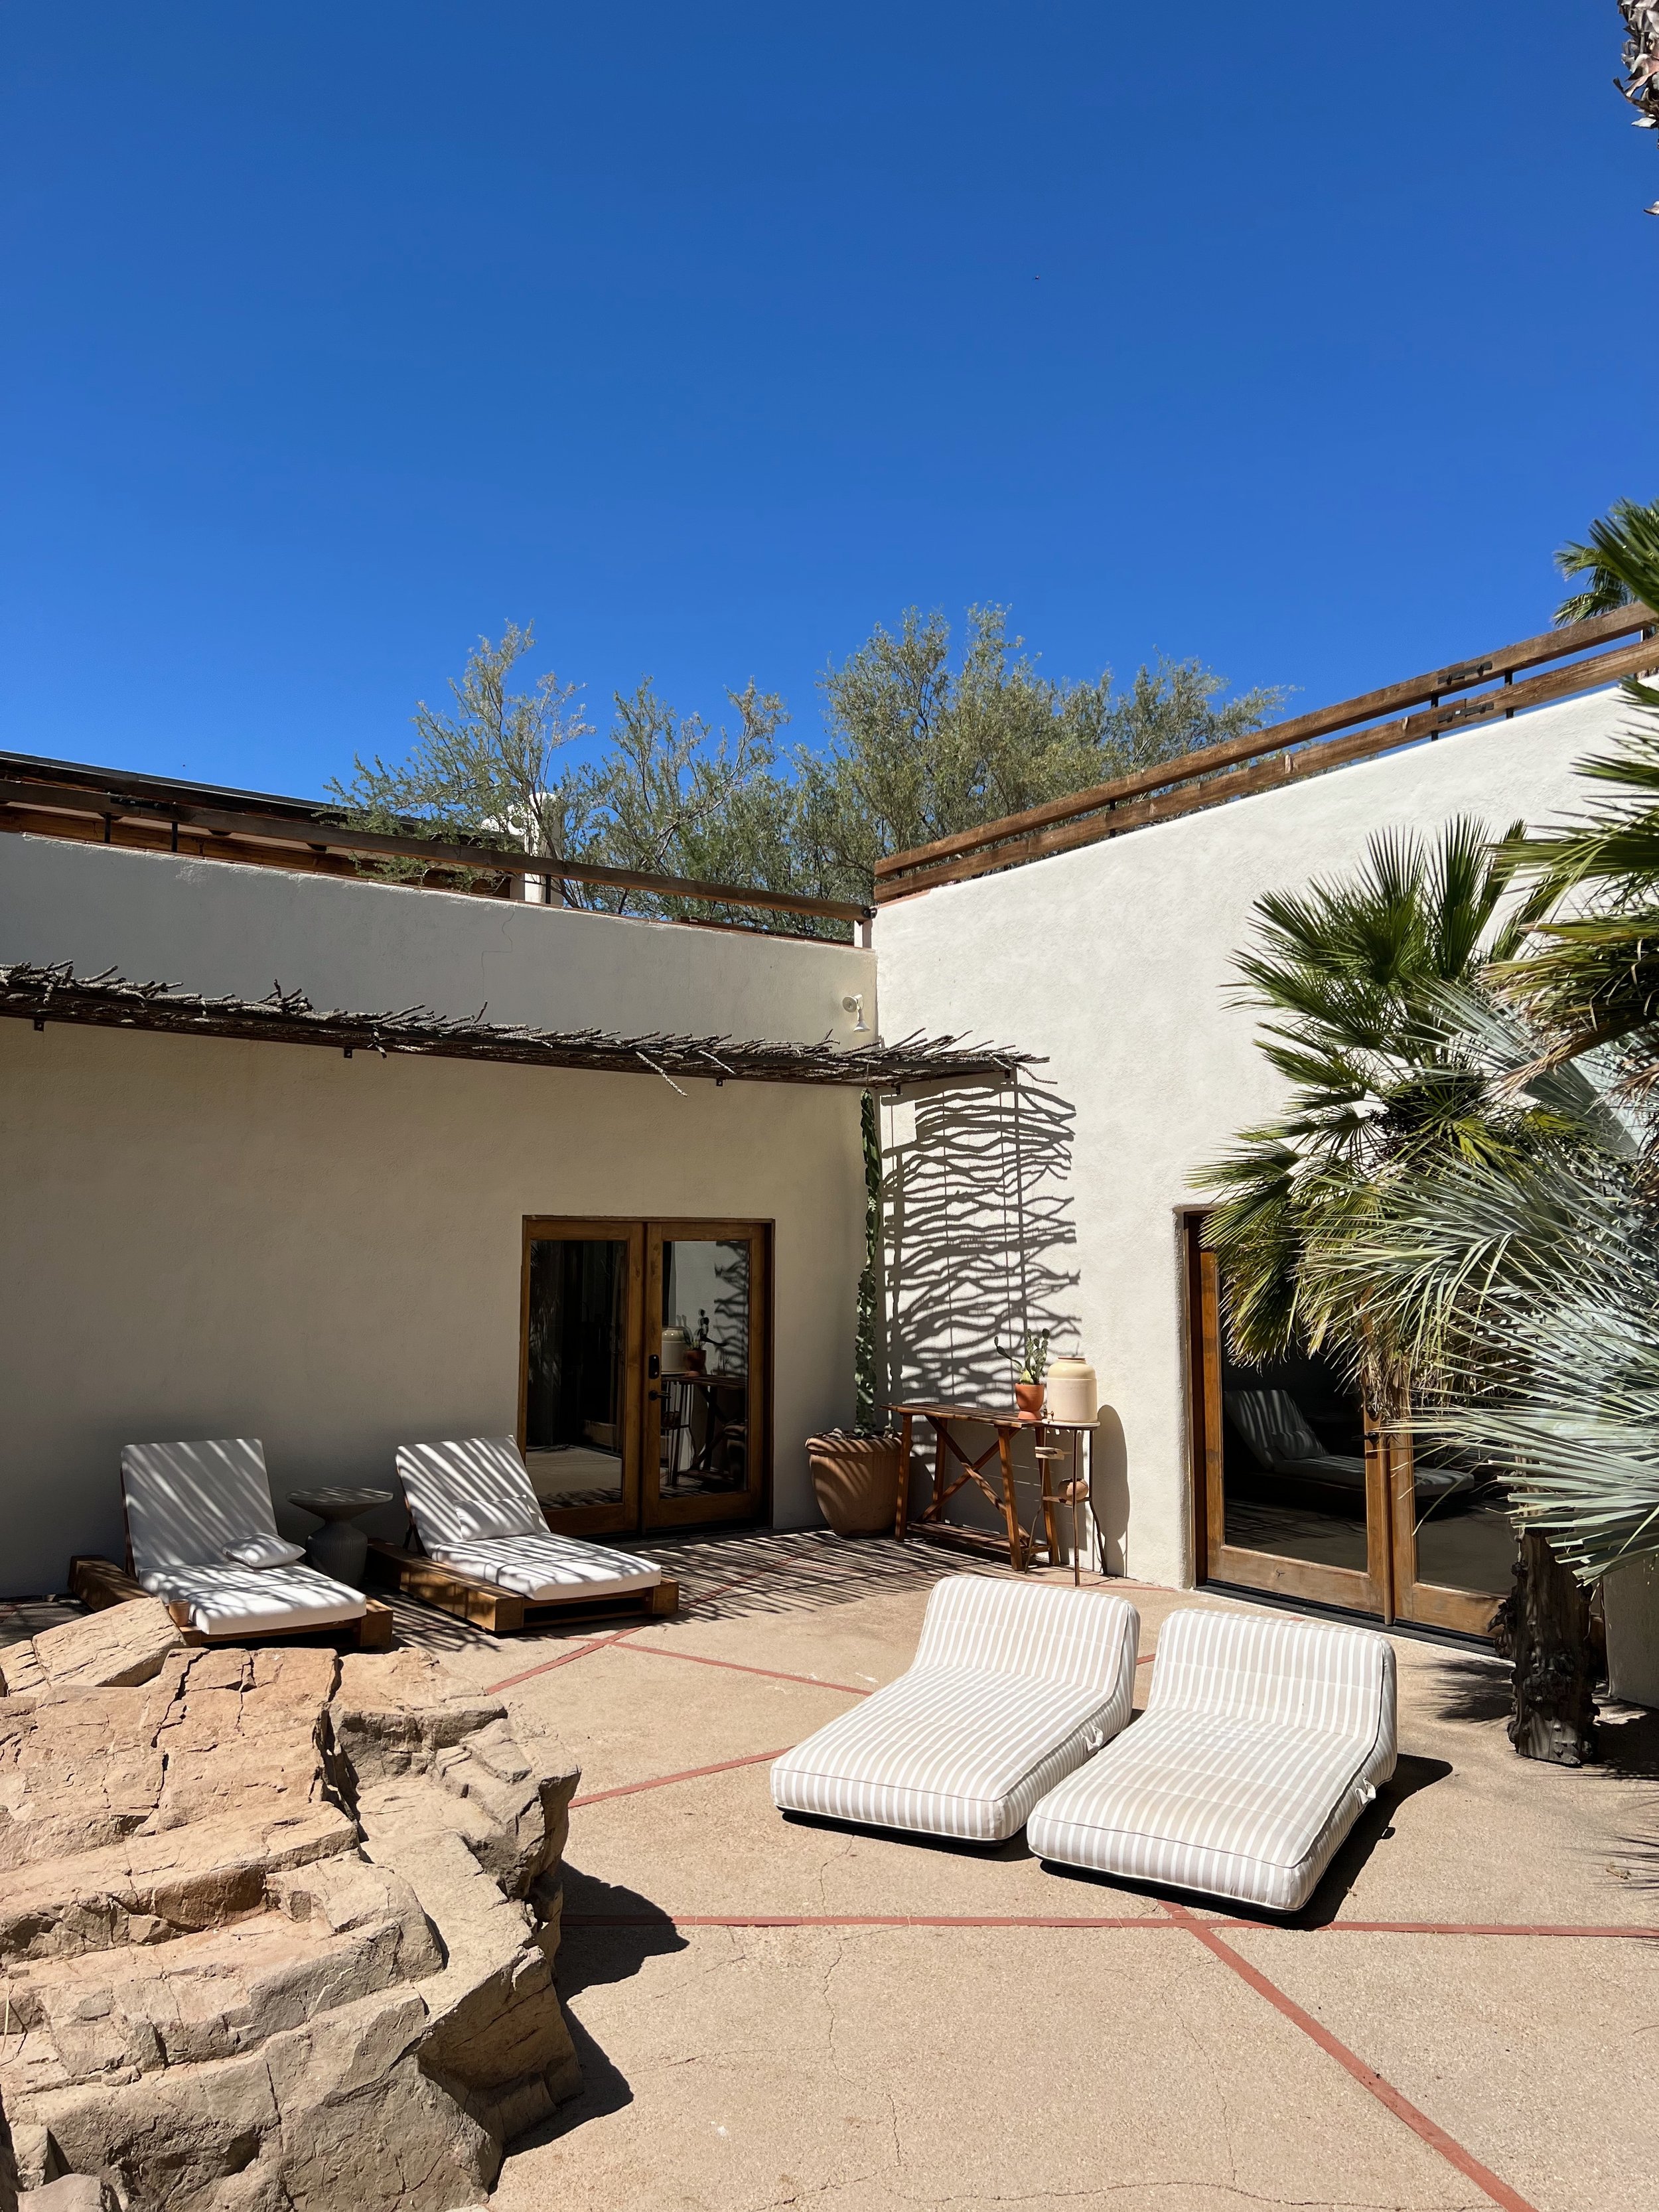
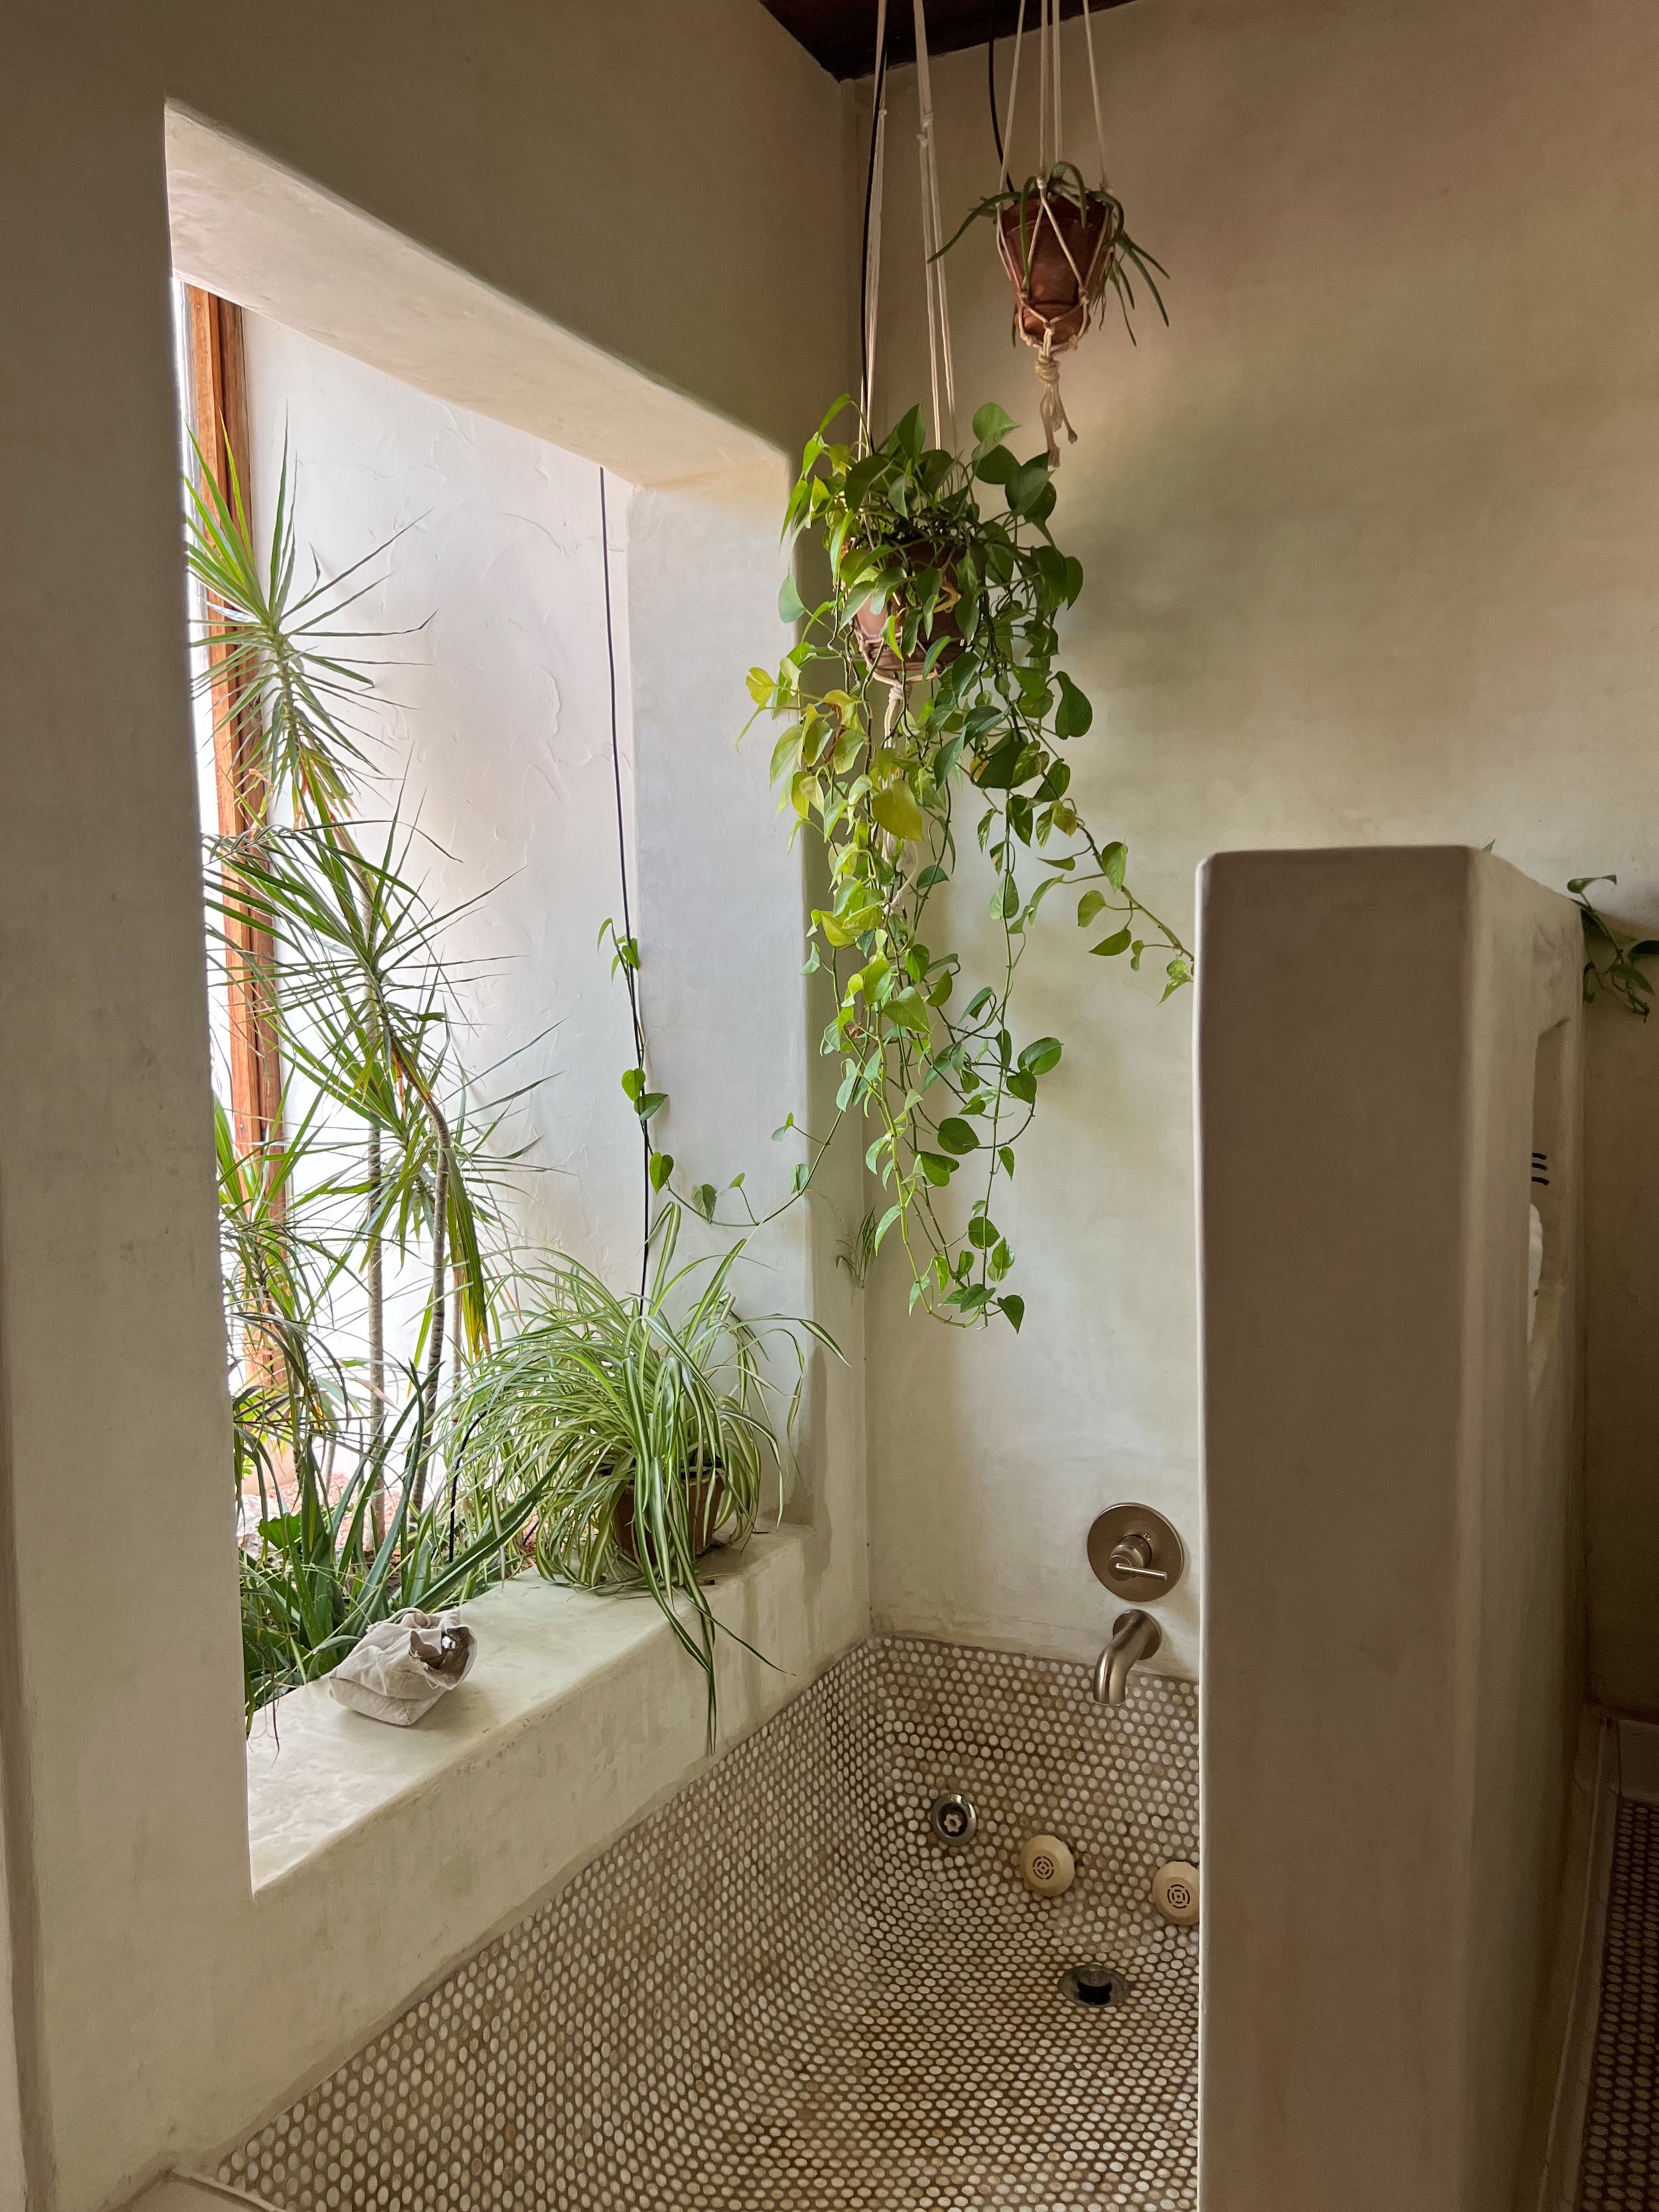
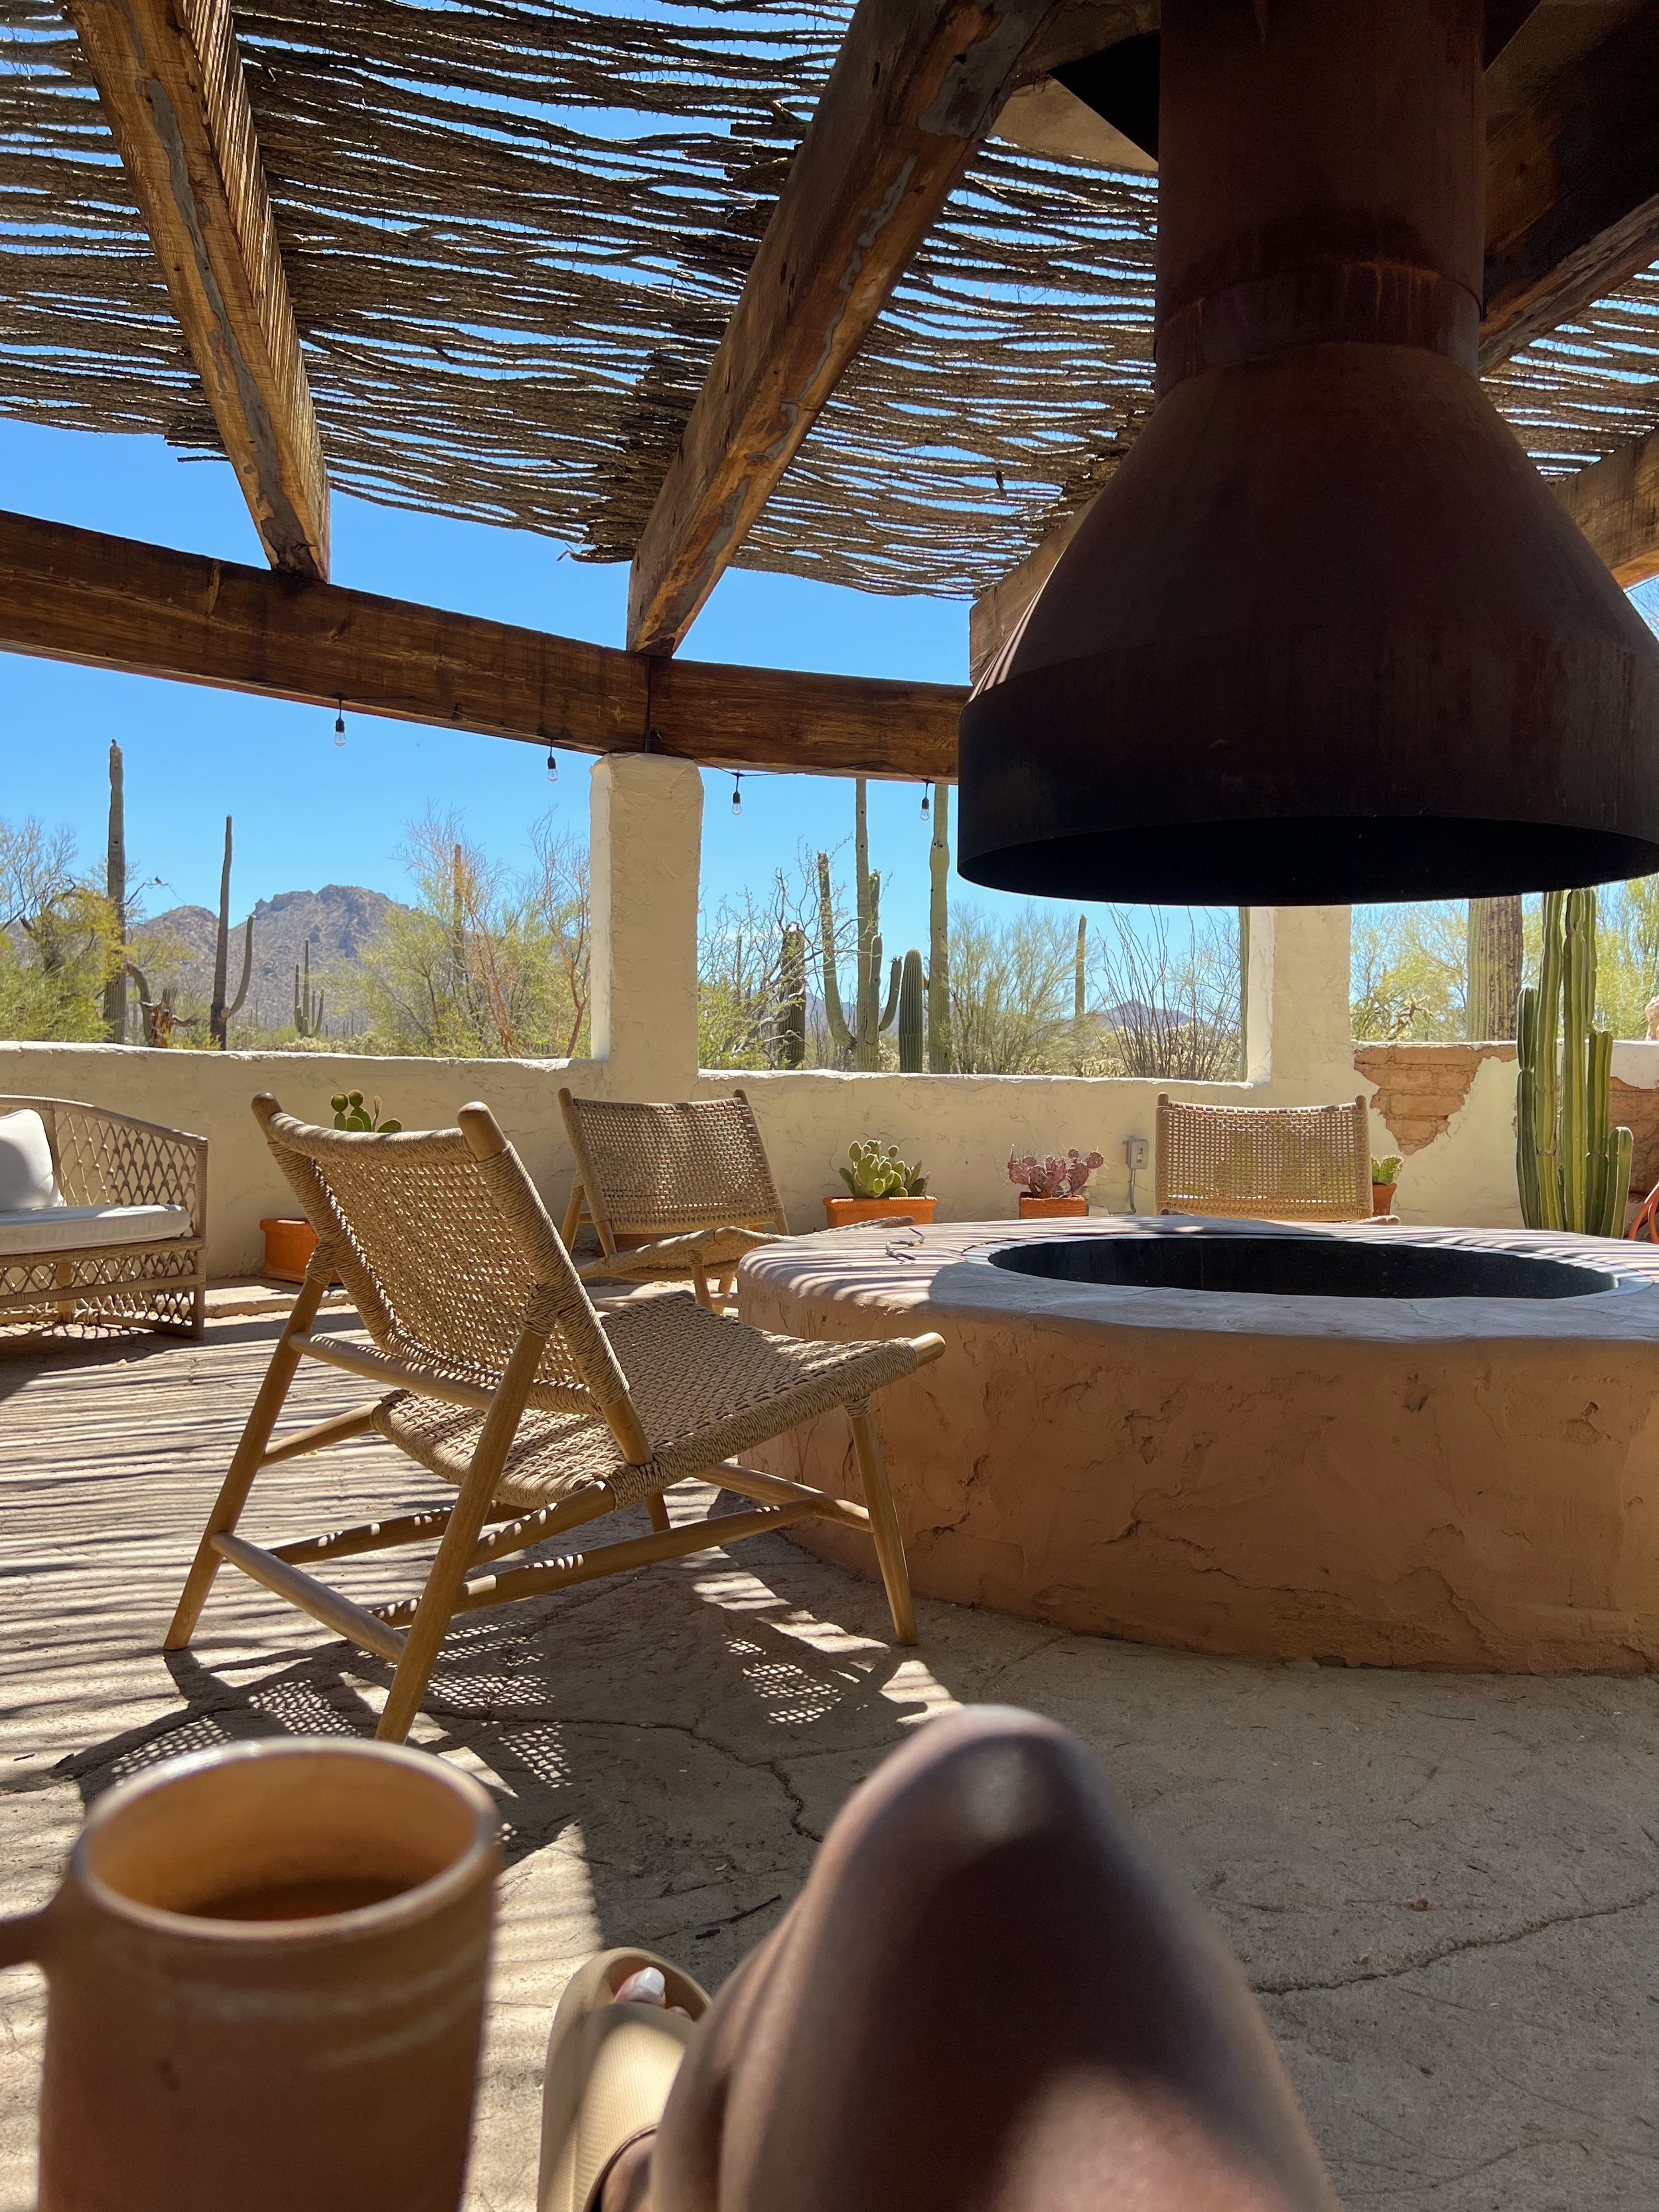
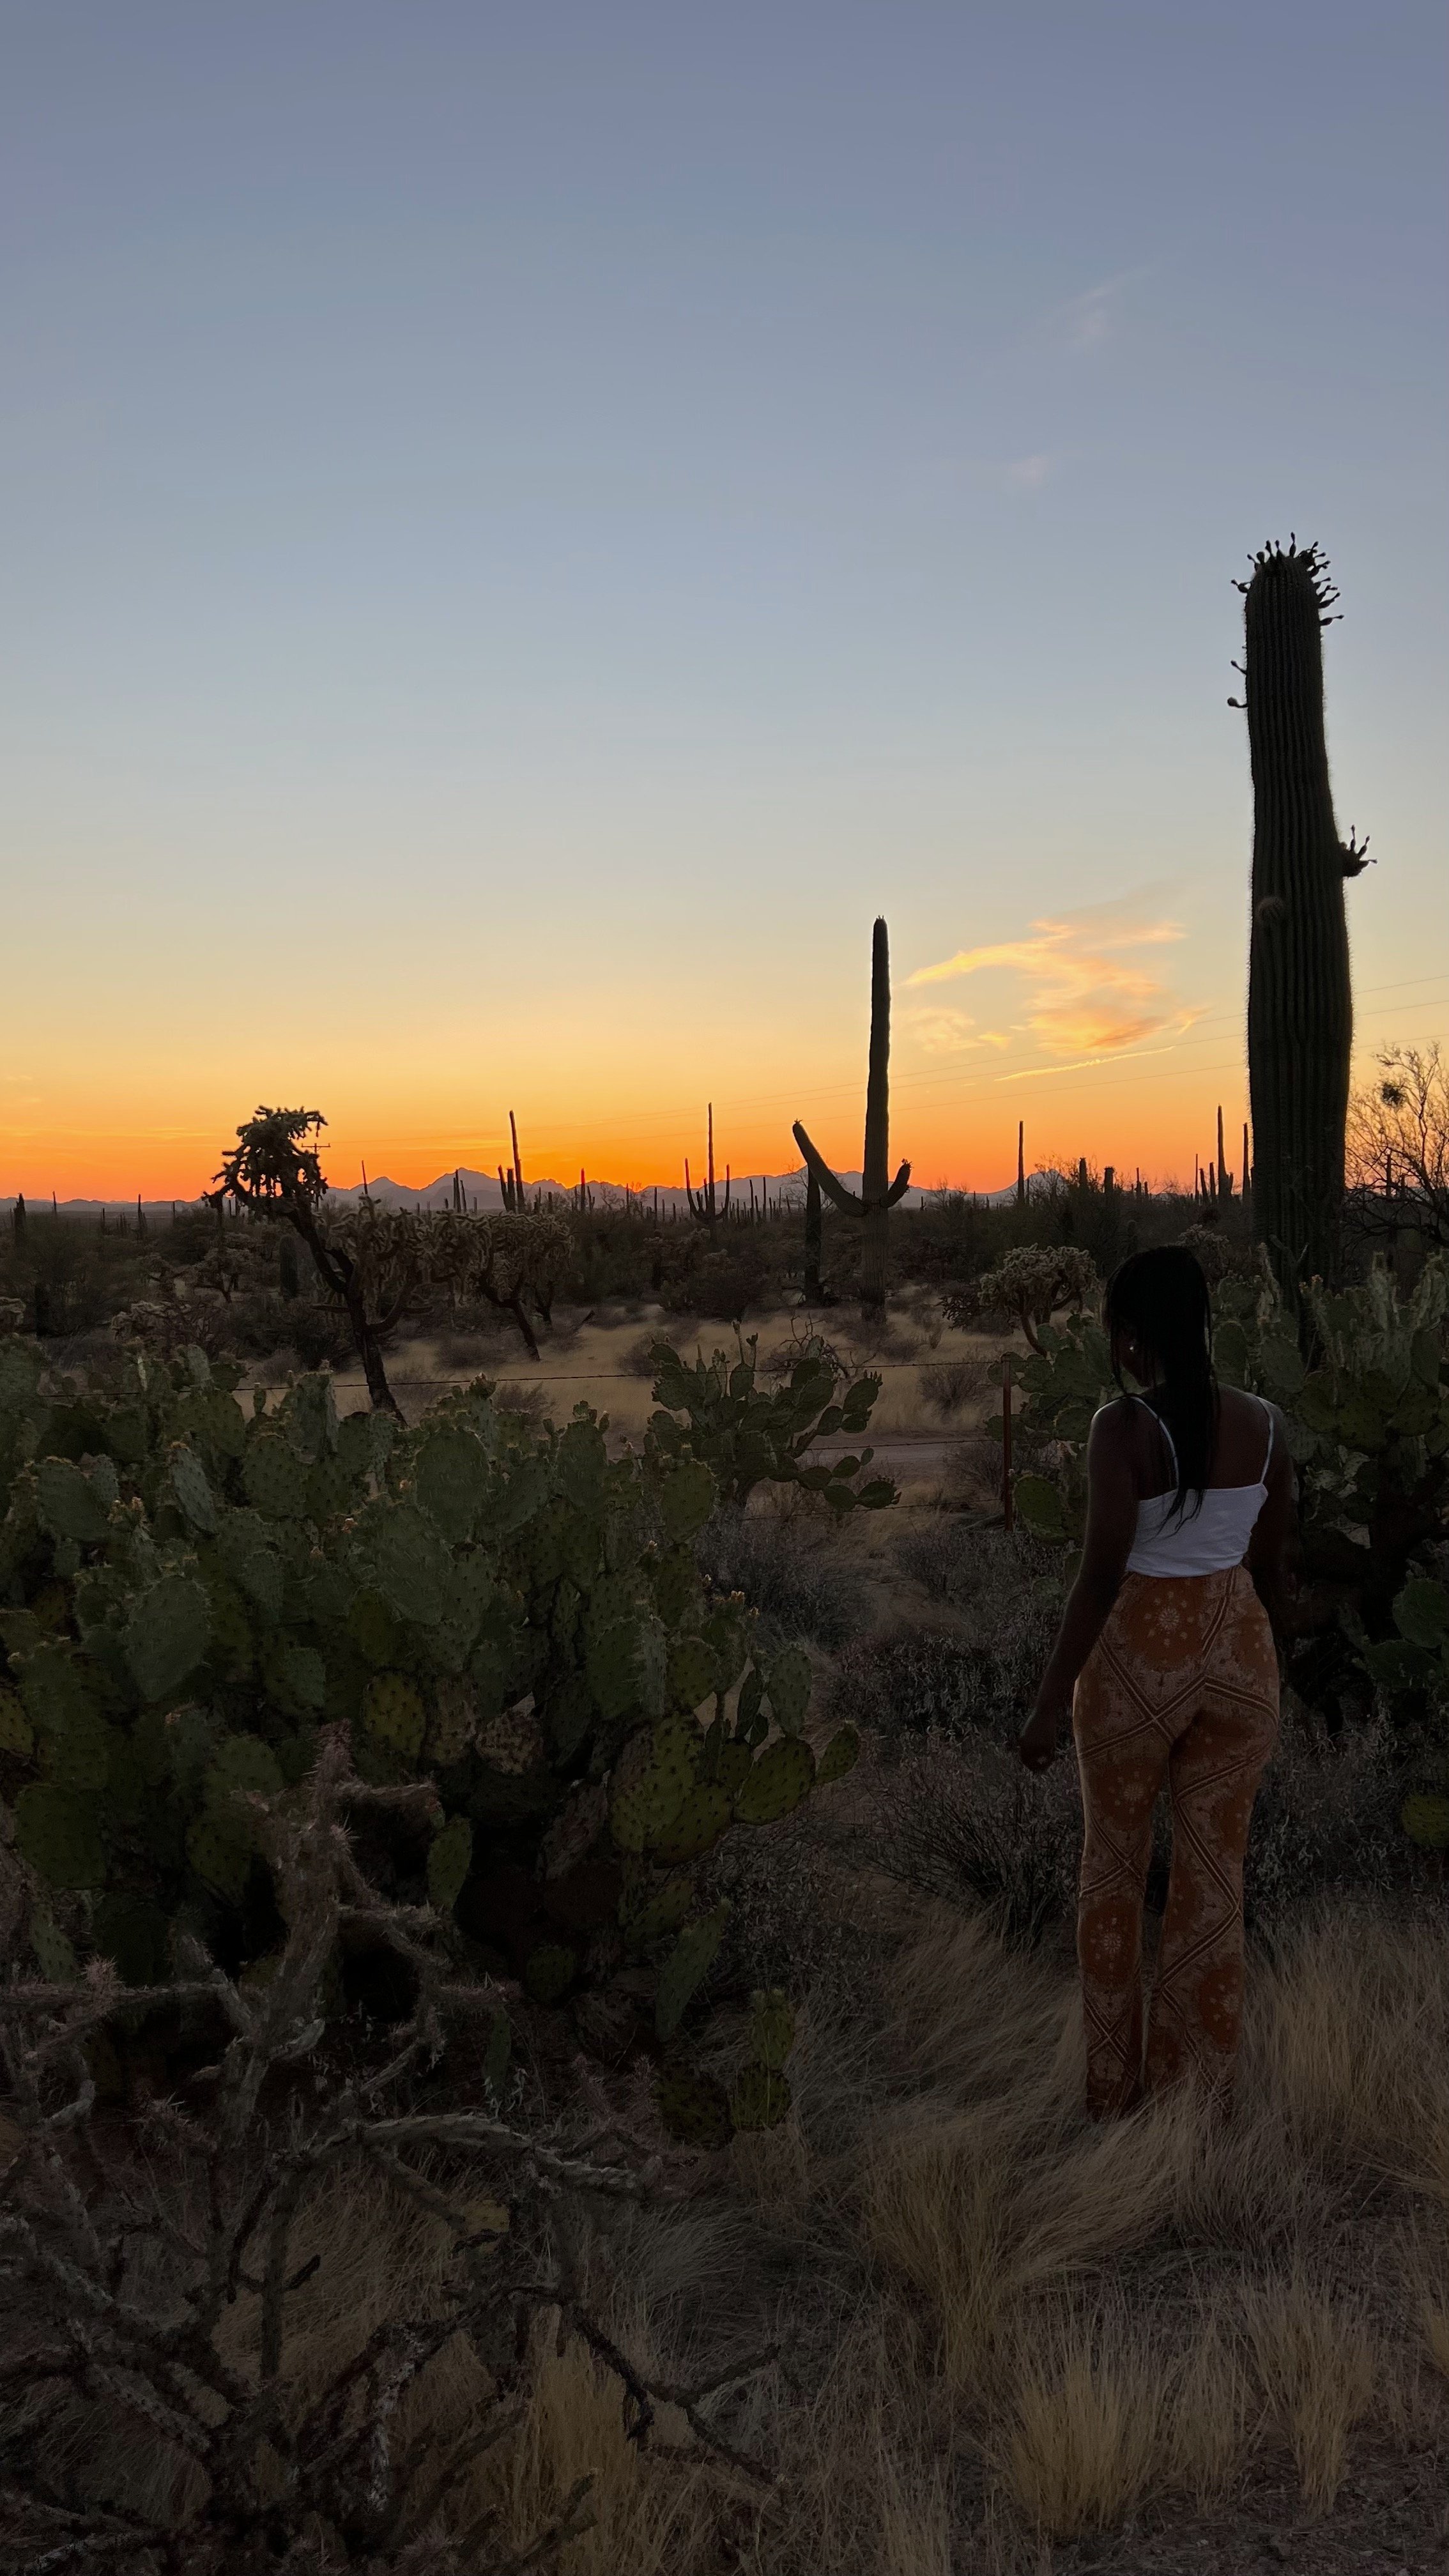

Saguaro Desert

Our two night stay at the Posada was… hmm I can’t think if a good enough adjective. Breathtaking? Incredible? Just think of a really good word and it was that. Designed and owned by Rich and Sara Combs. There is only 5 rooms, so at most you’ll have around 10 people there. The property has SO MANY chill areas, if you don’t want to be around people, you don’t have to. There is a CANYON pool, river rock hot springs, fire pit, rooftop, dining areas, common kitchen, the list goes on and on. It’s a stunning place, and I thank Rich and Sara for letting me stay and experience the beauty of the Saguaro desert. 20/10 would recommend, and will be booking again. Even in the summer you could tour in the morning and pool all afternoon.


Sedona

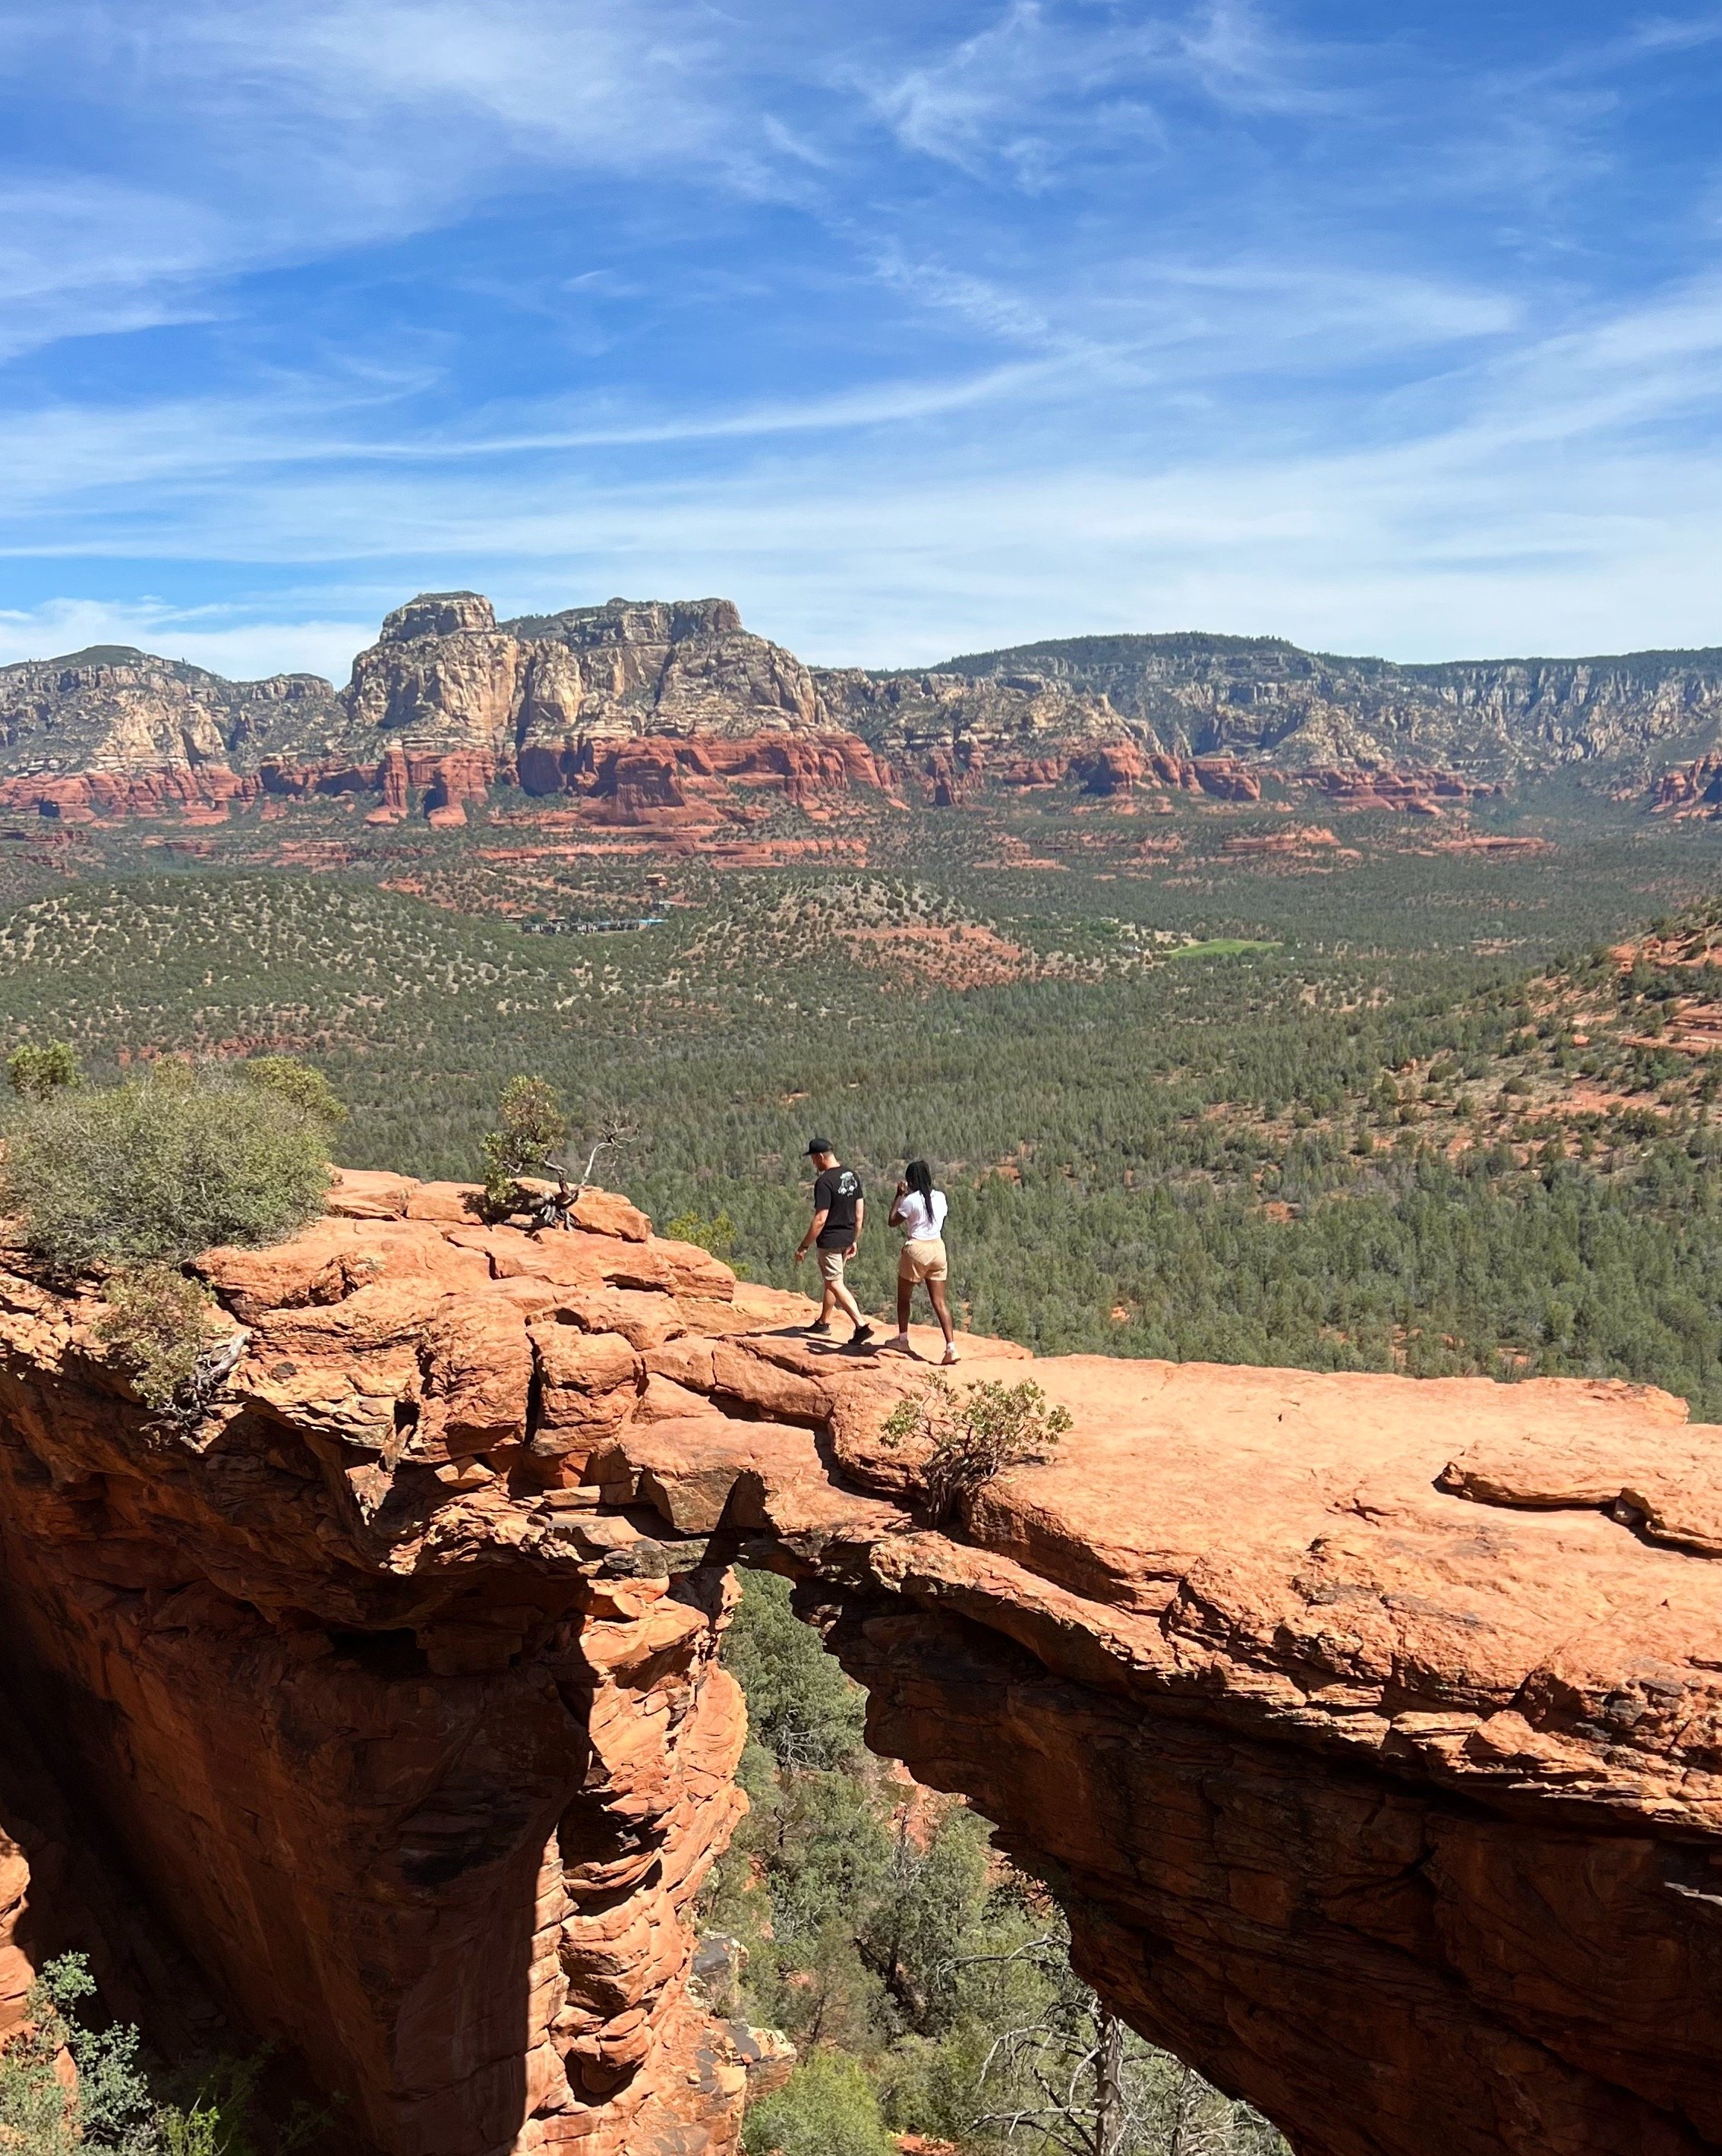
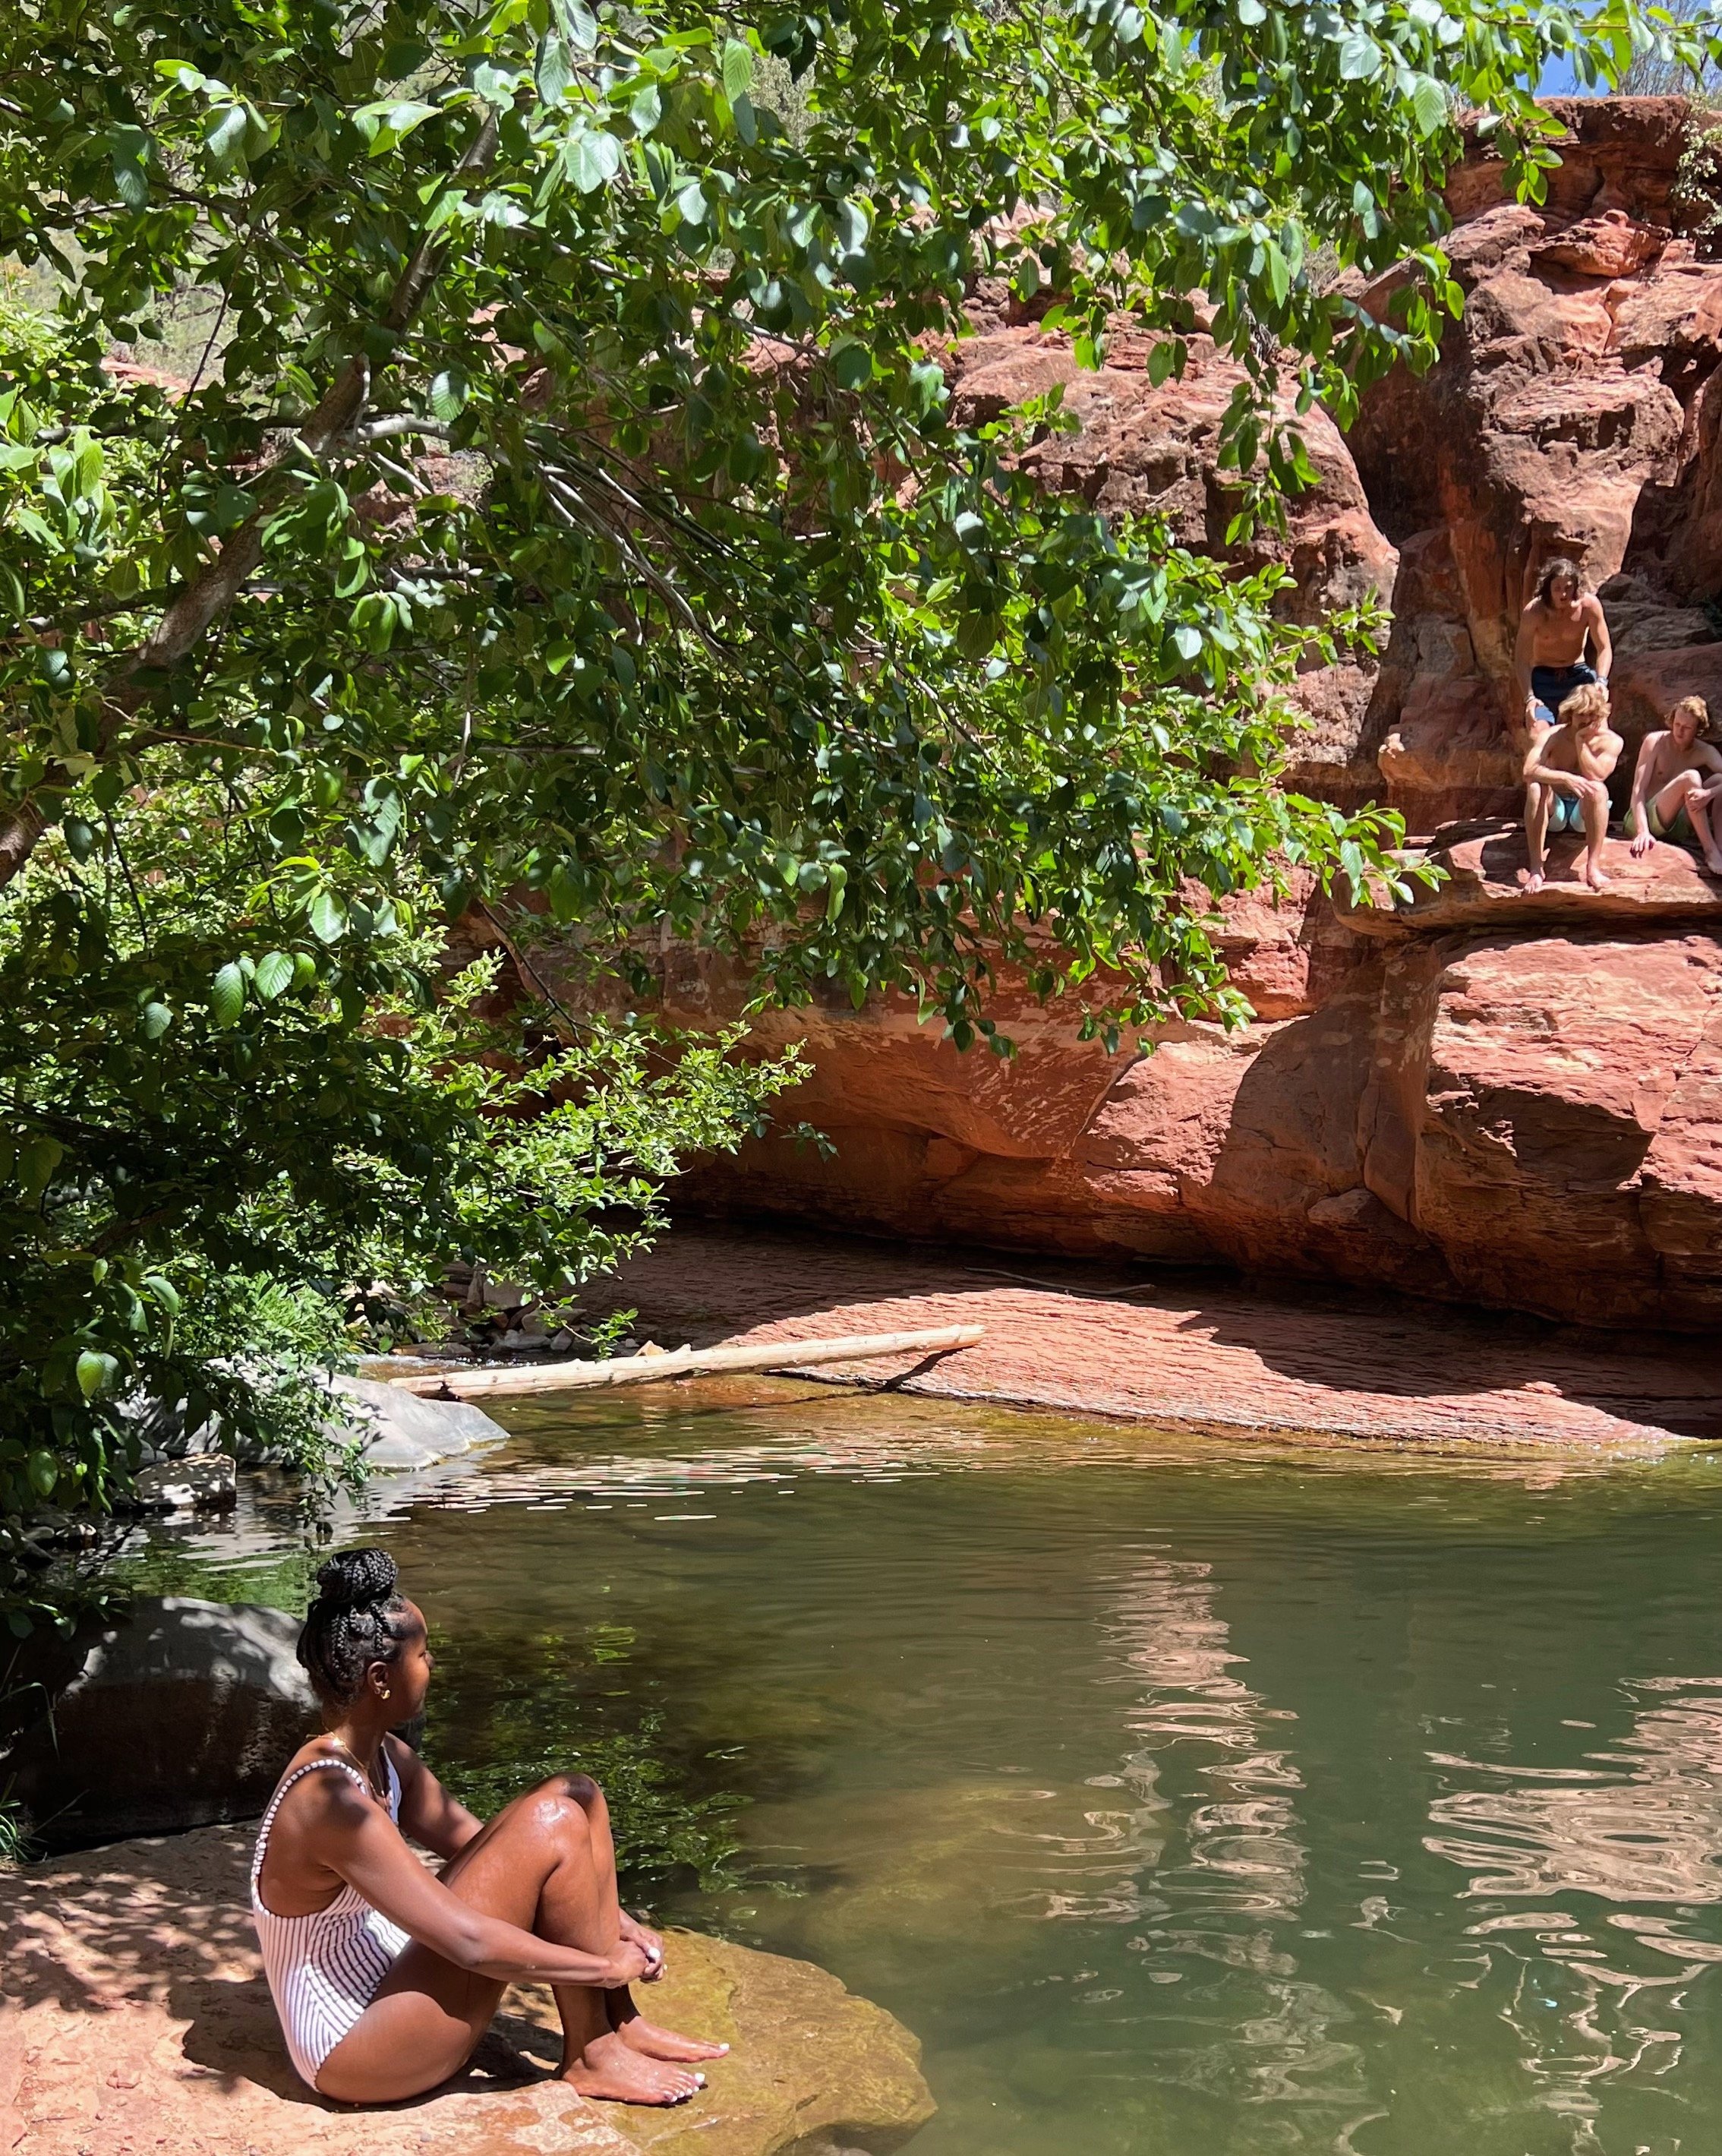
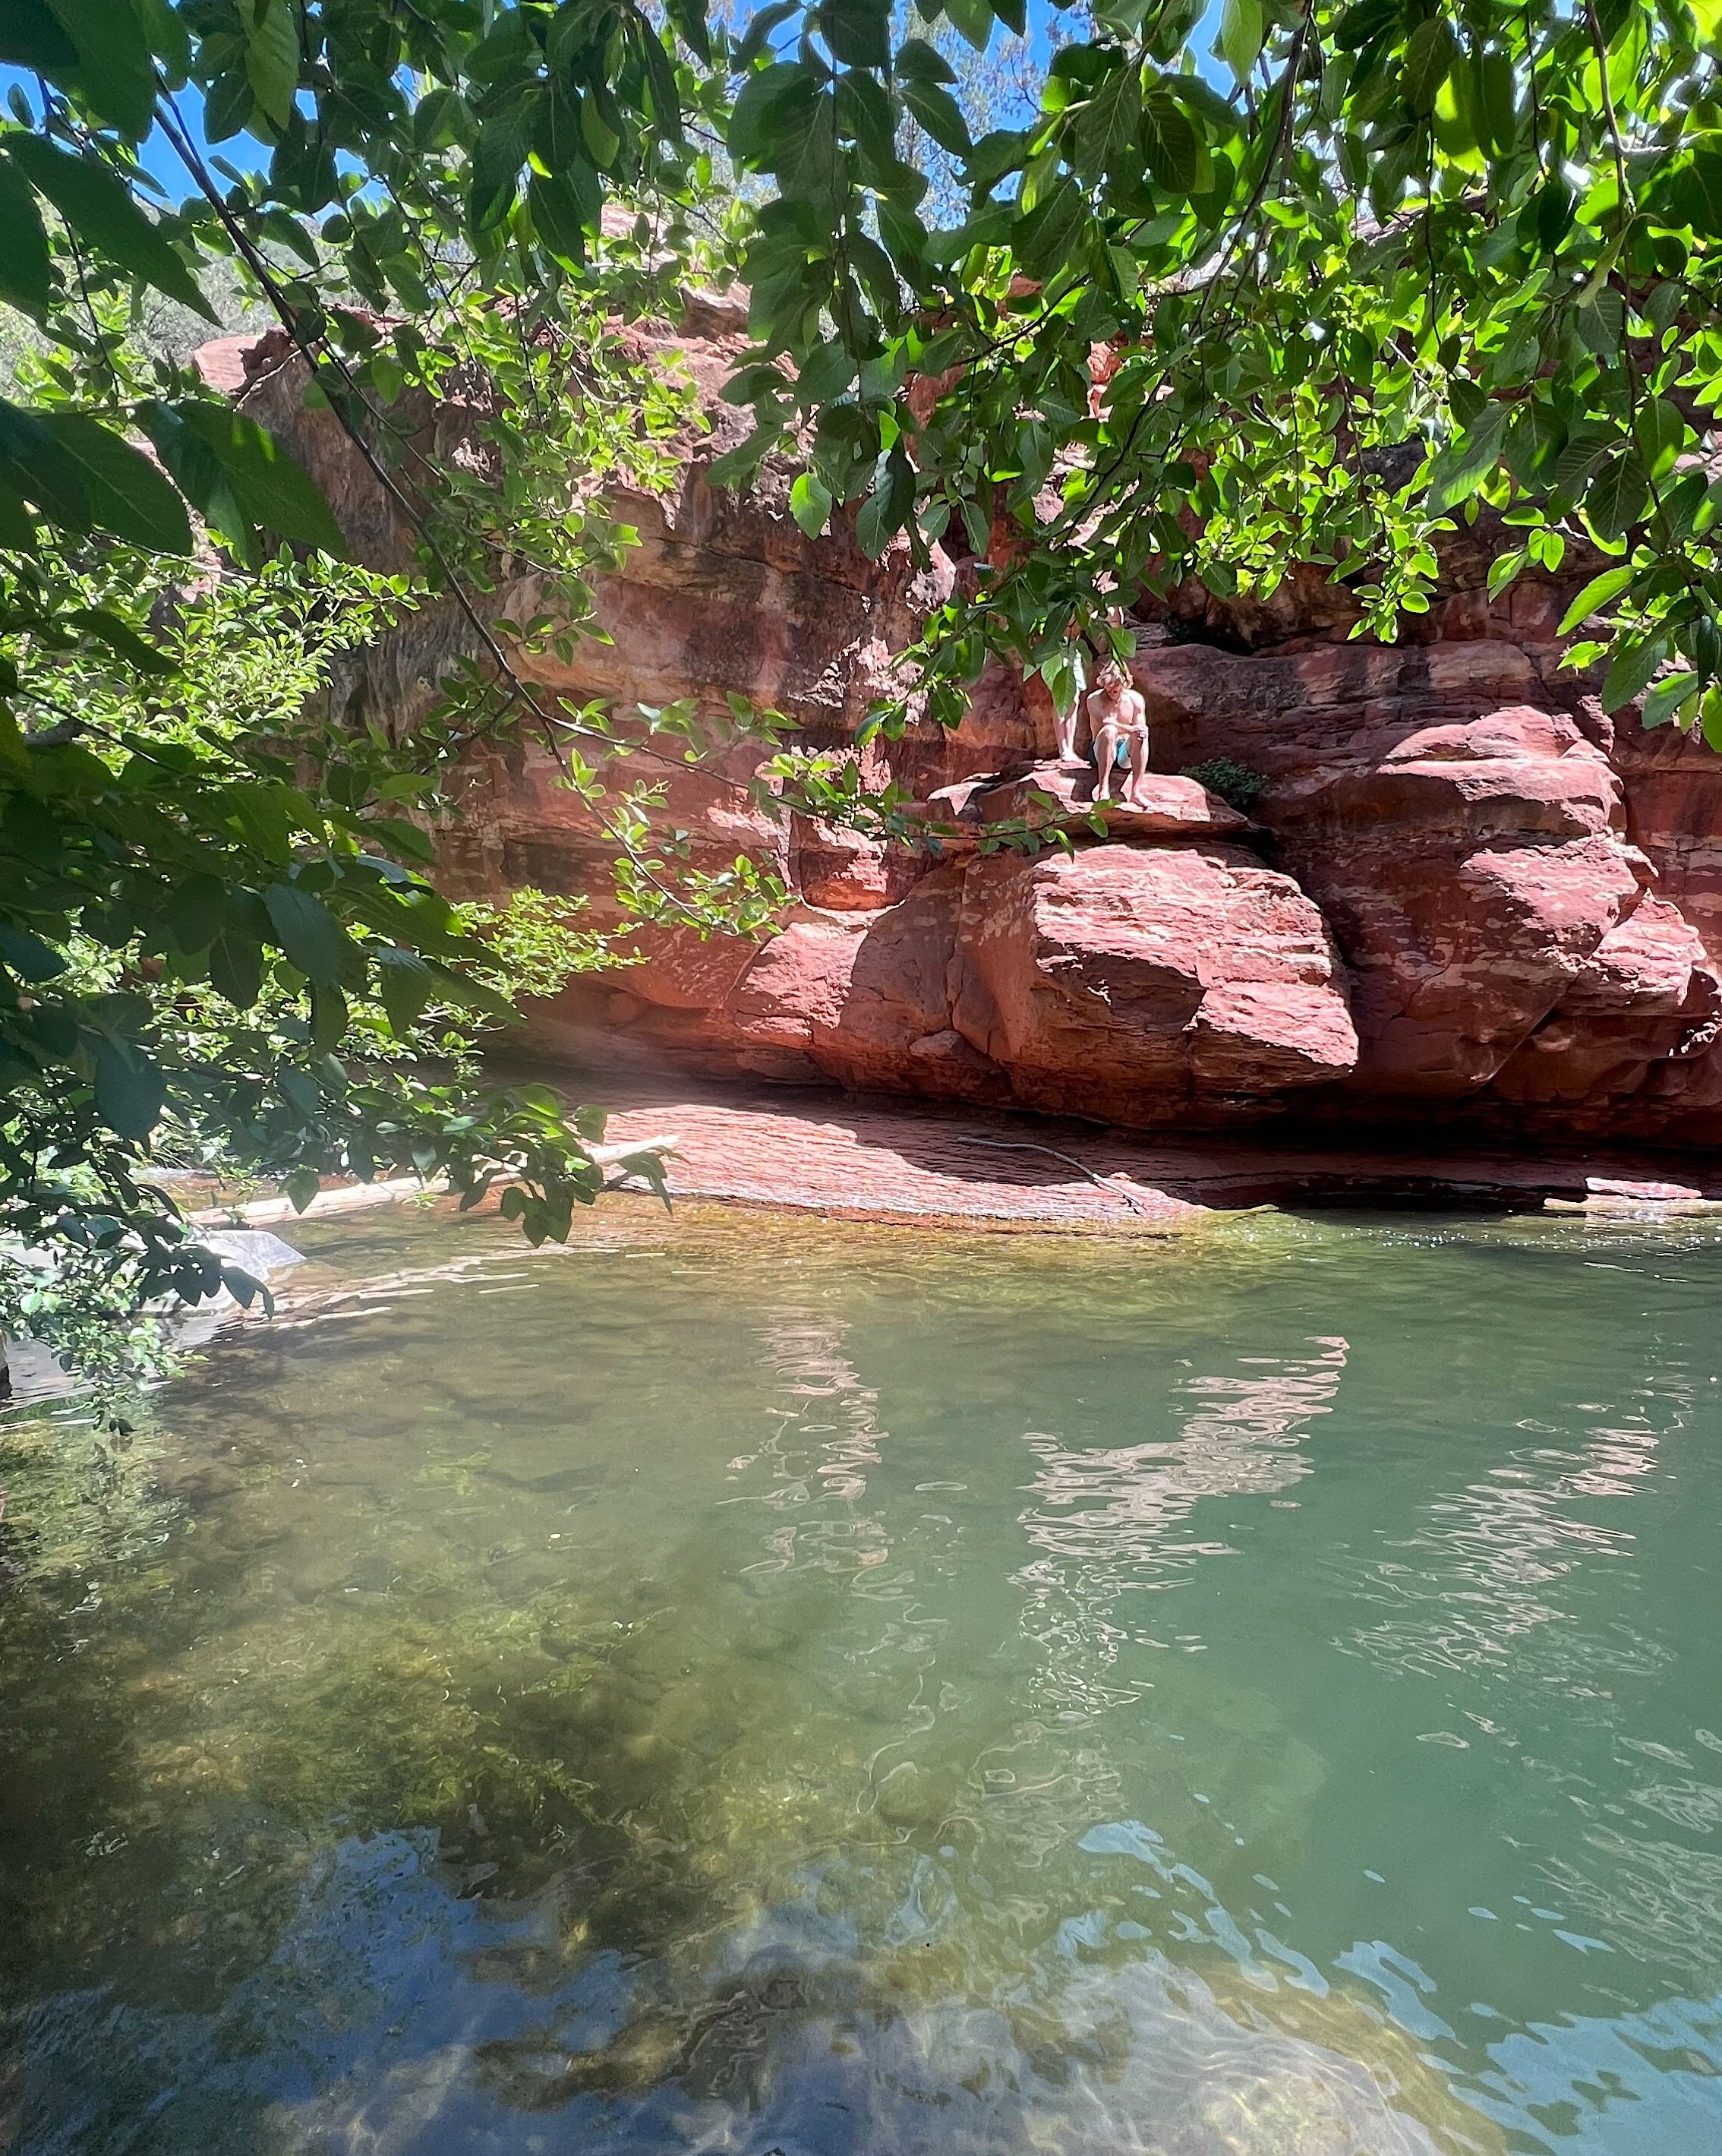
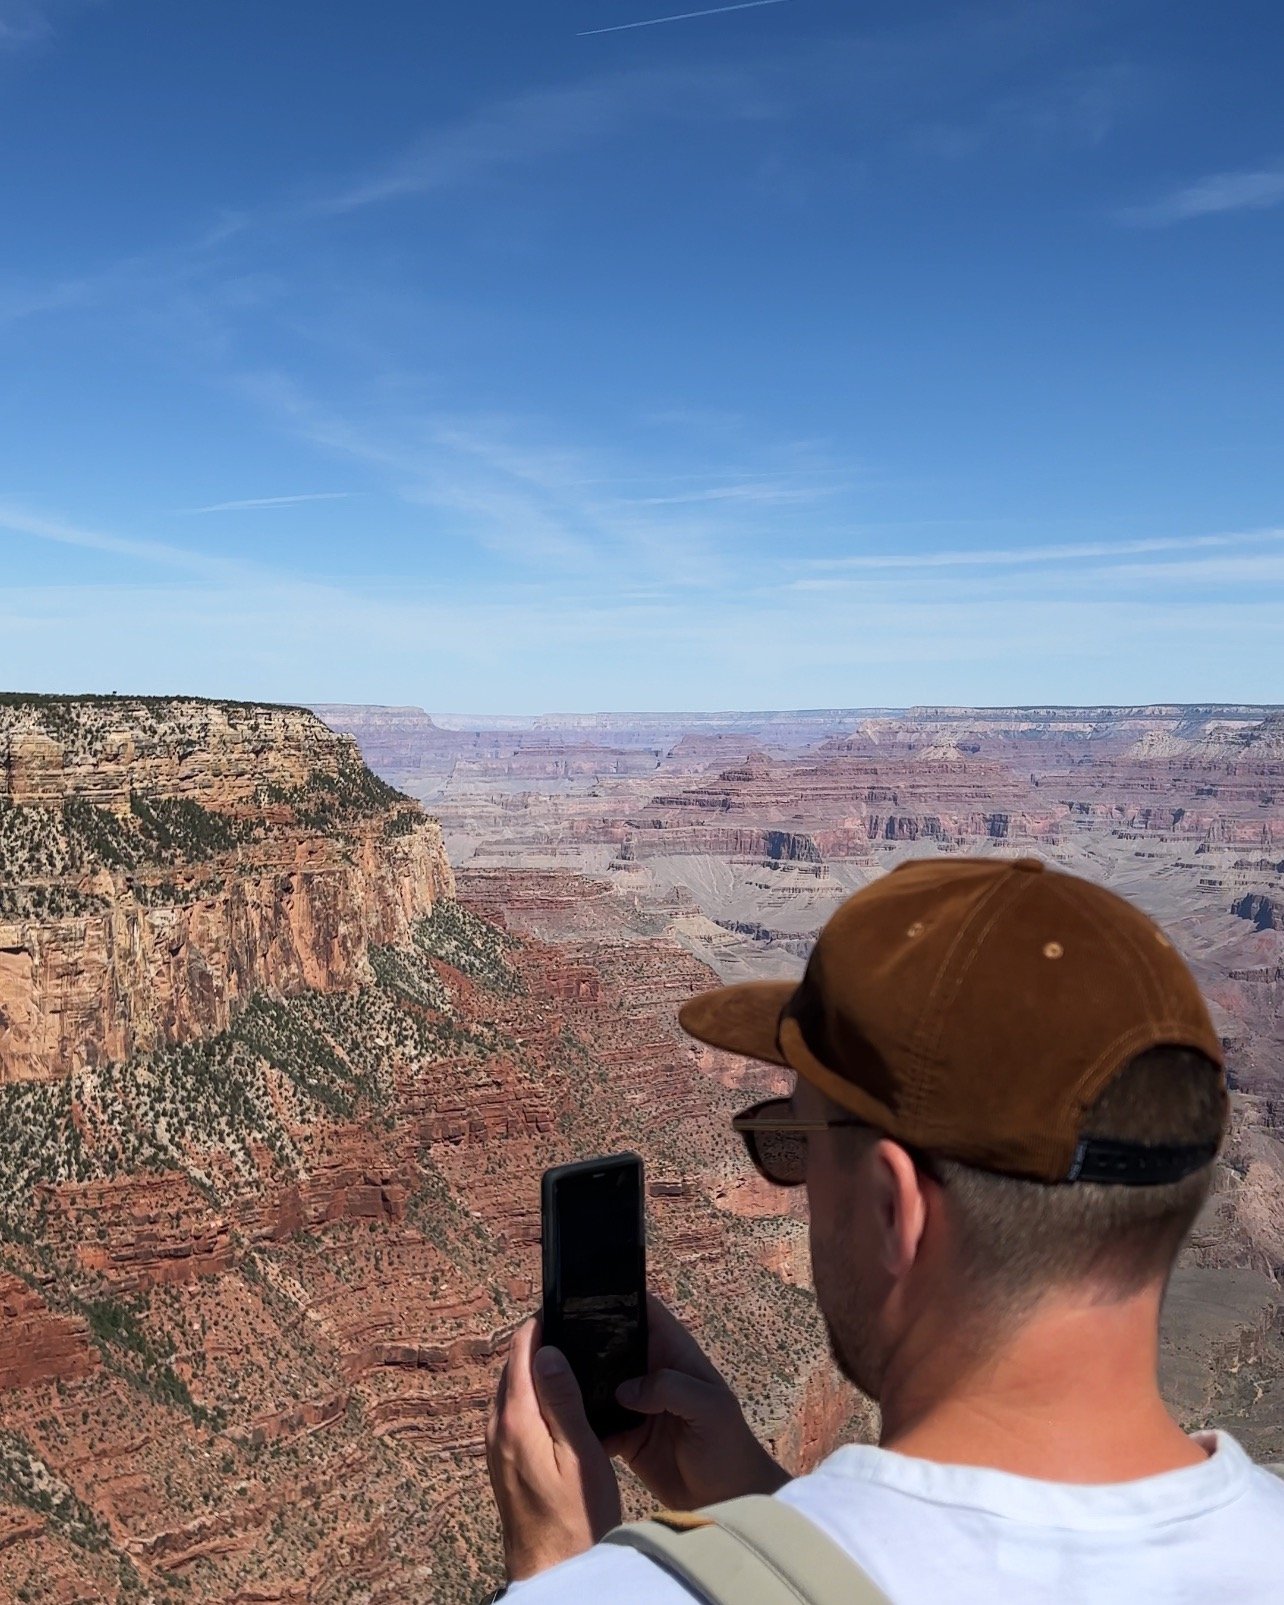
Im not going to link our Sedona hotel, because frankly - it was trash. We regrettably spent two nights at the Arabella Hotel, and I would never darken their doorway again. The hotel itself was OKAY, it was giving 90’s Holiday Inn with your family, but the two toe nails we found on the carpet upon entering our room was a big NO. Other than that Sedona was STUNNING. 10/10 would recommend seeing this beautiful place. We did the Devil’s Bridge hike (pictured above) which was about 3 hours round trip. The next morning we woke up early and drove two hours to THE GRAND CANYON, which could be a post on its own, but rather than bore you with ooh’s and ahh’s, I’ll just say put it on your bucket list if you haven’t been. The highlight of Sedona was the secret swimming hole 1 mile north of Slide Rock, if you drive up past the entrance, there is a picnic parking area you can leave you car there. It’s a rough hike down, but eventually you’ll reach the swim spot pictured below. Beautiful red rocks, freezing cold water and views that will remain in your memory forever.


Phoenix

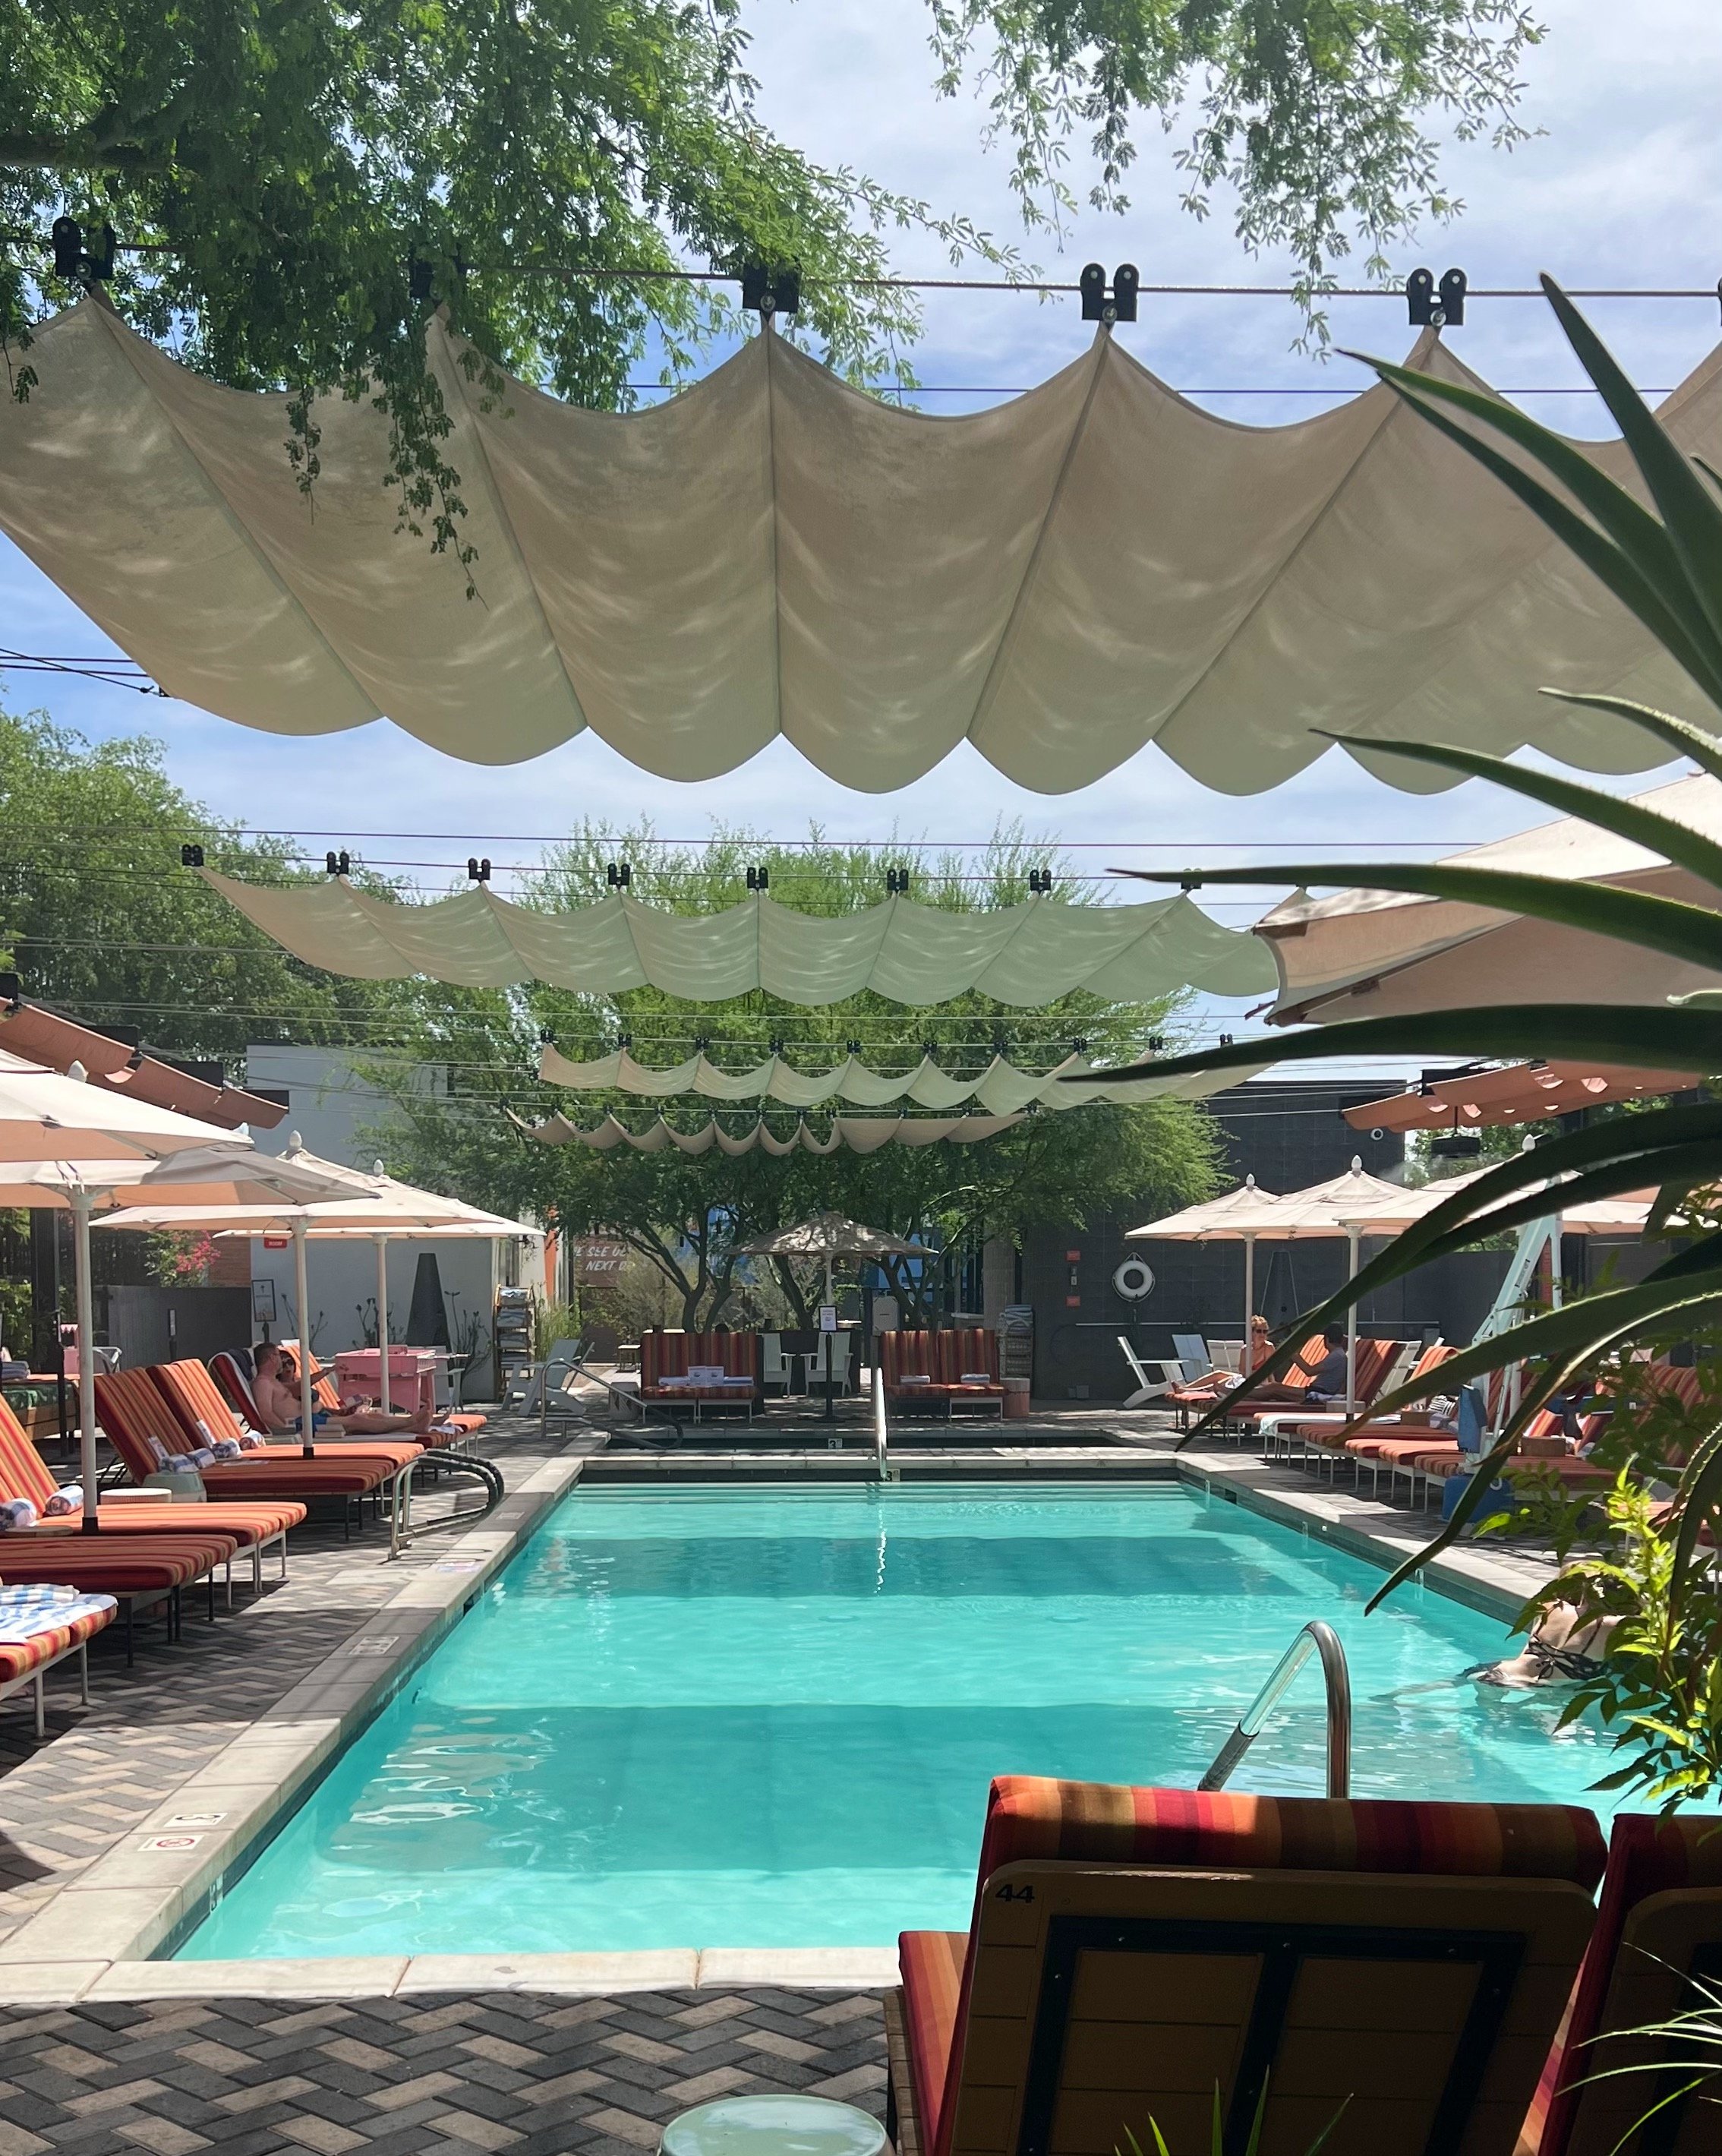
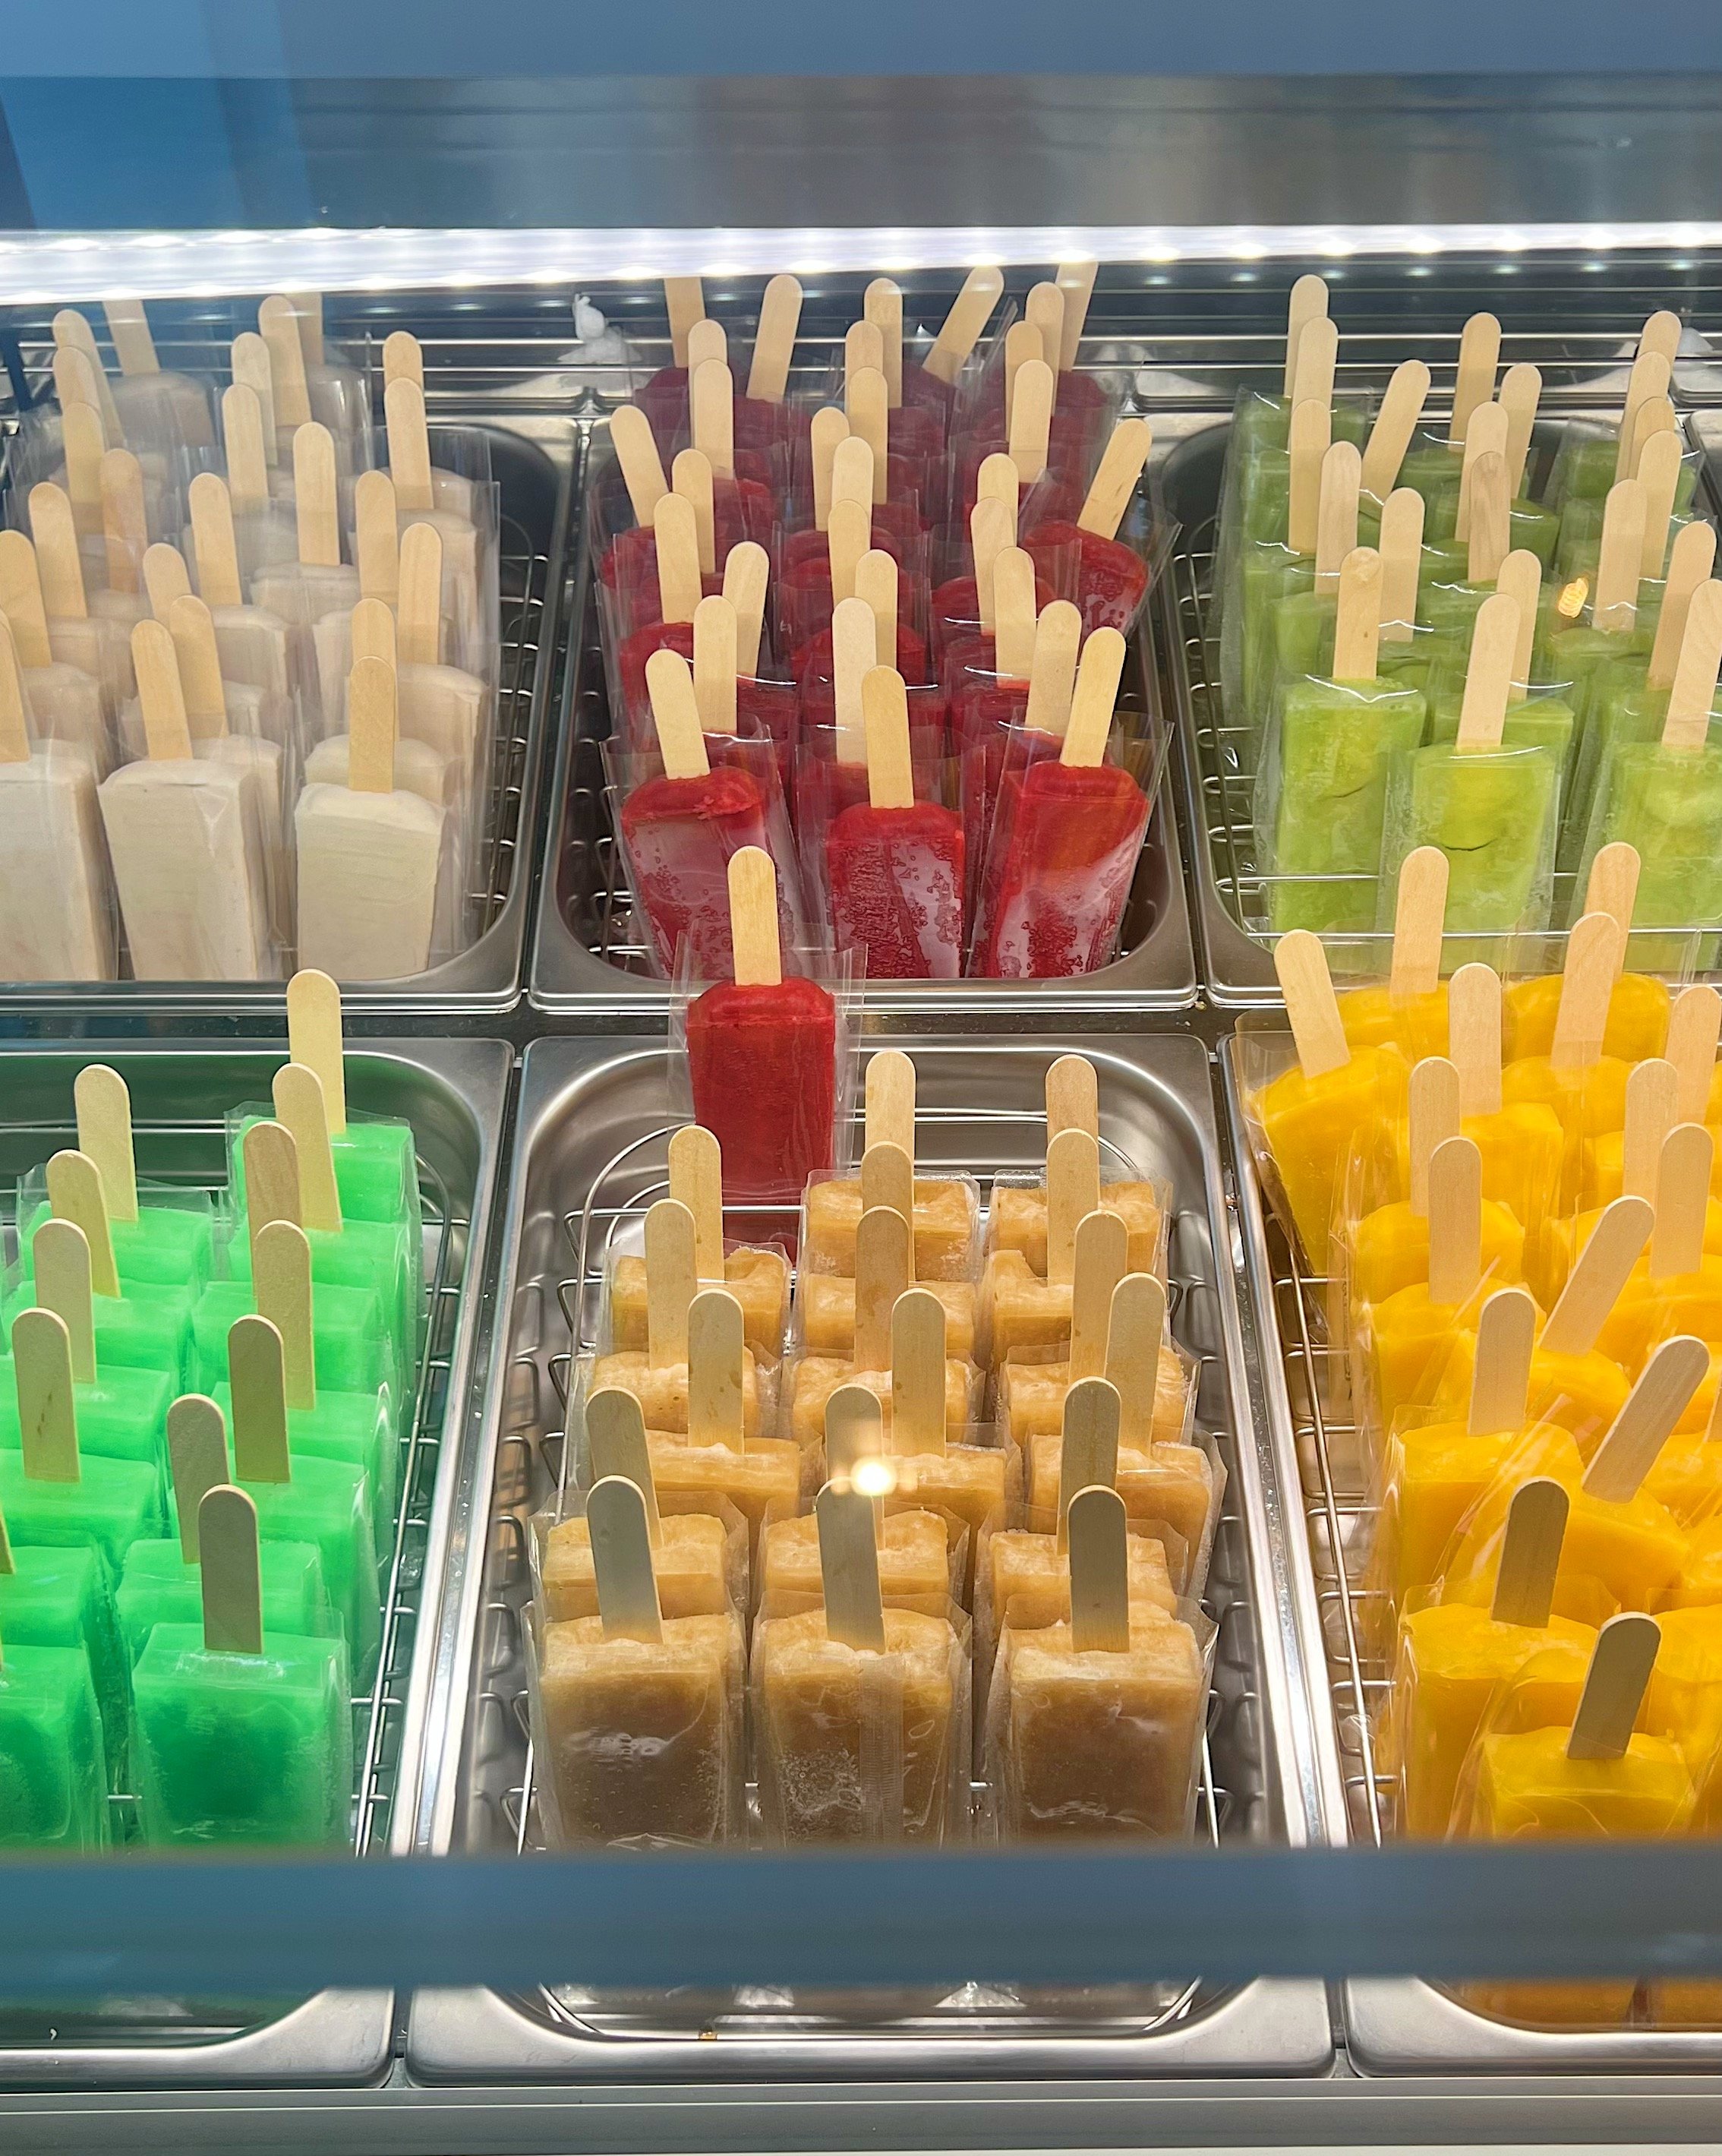
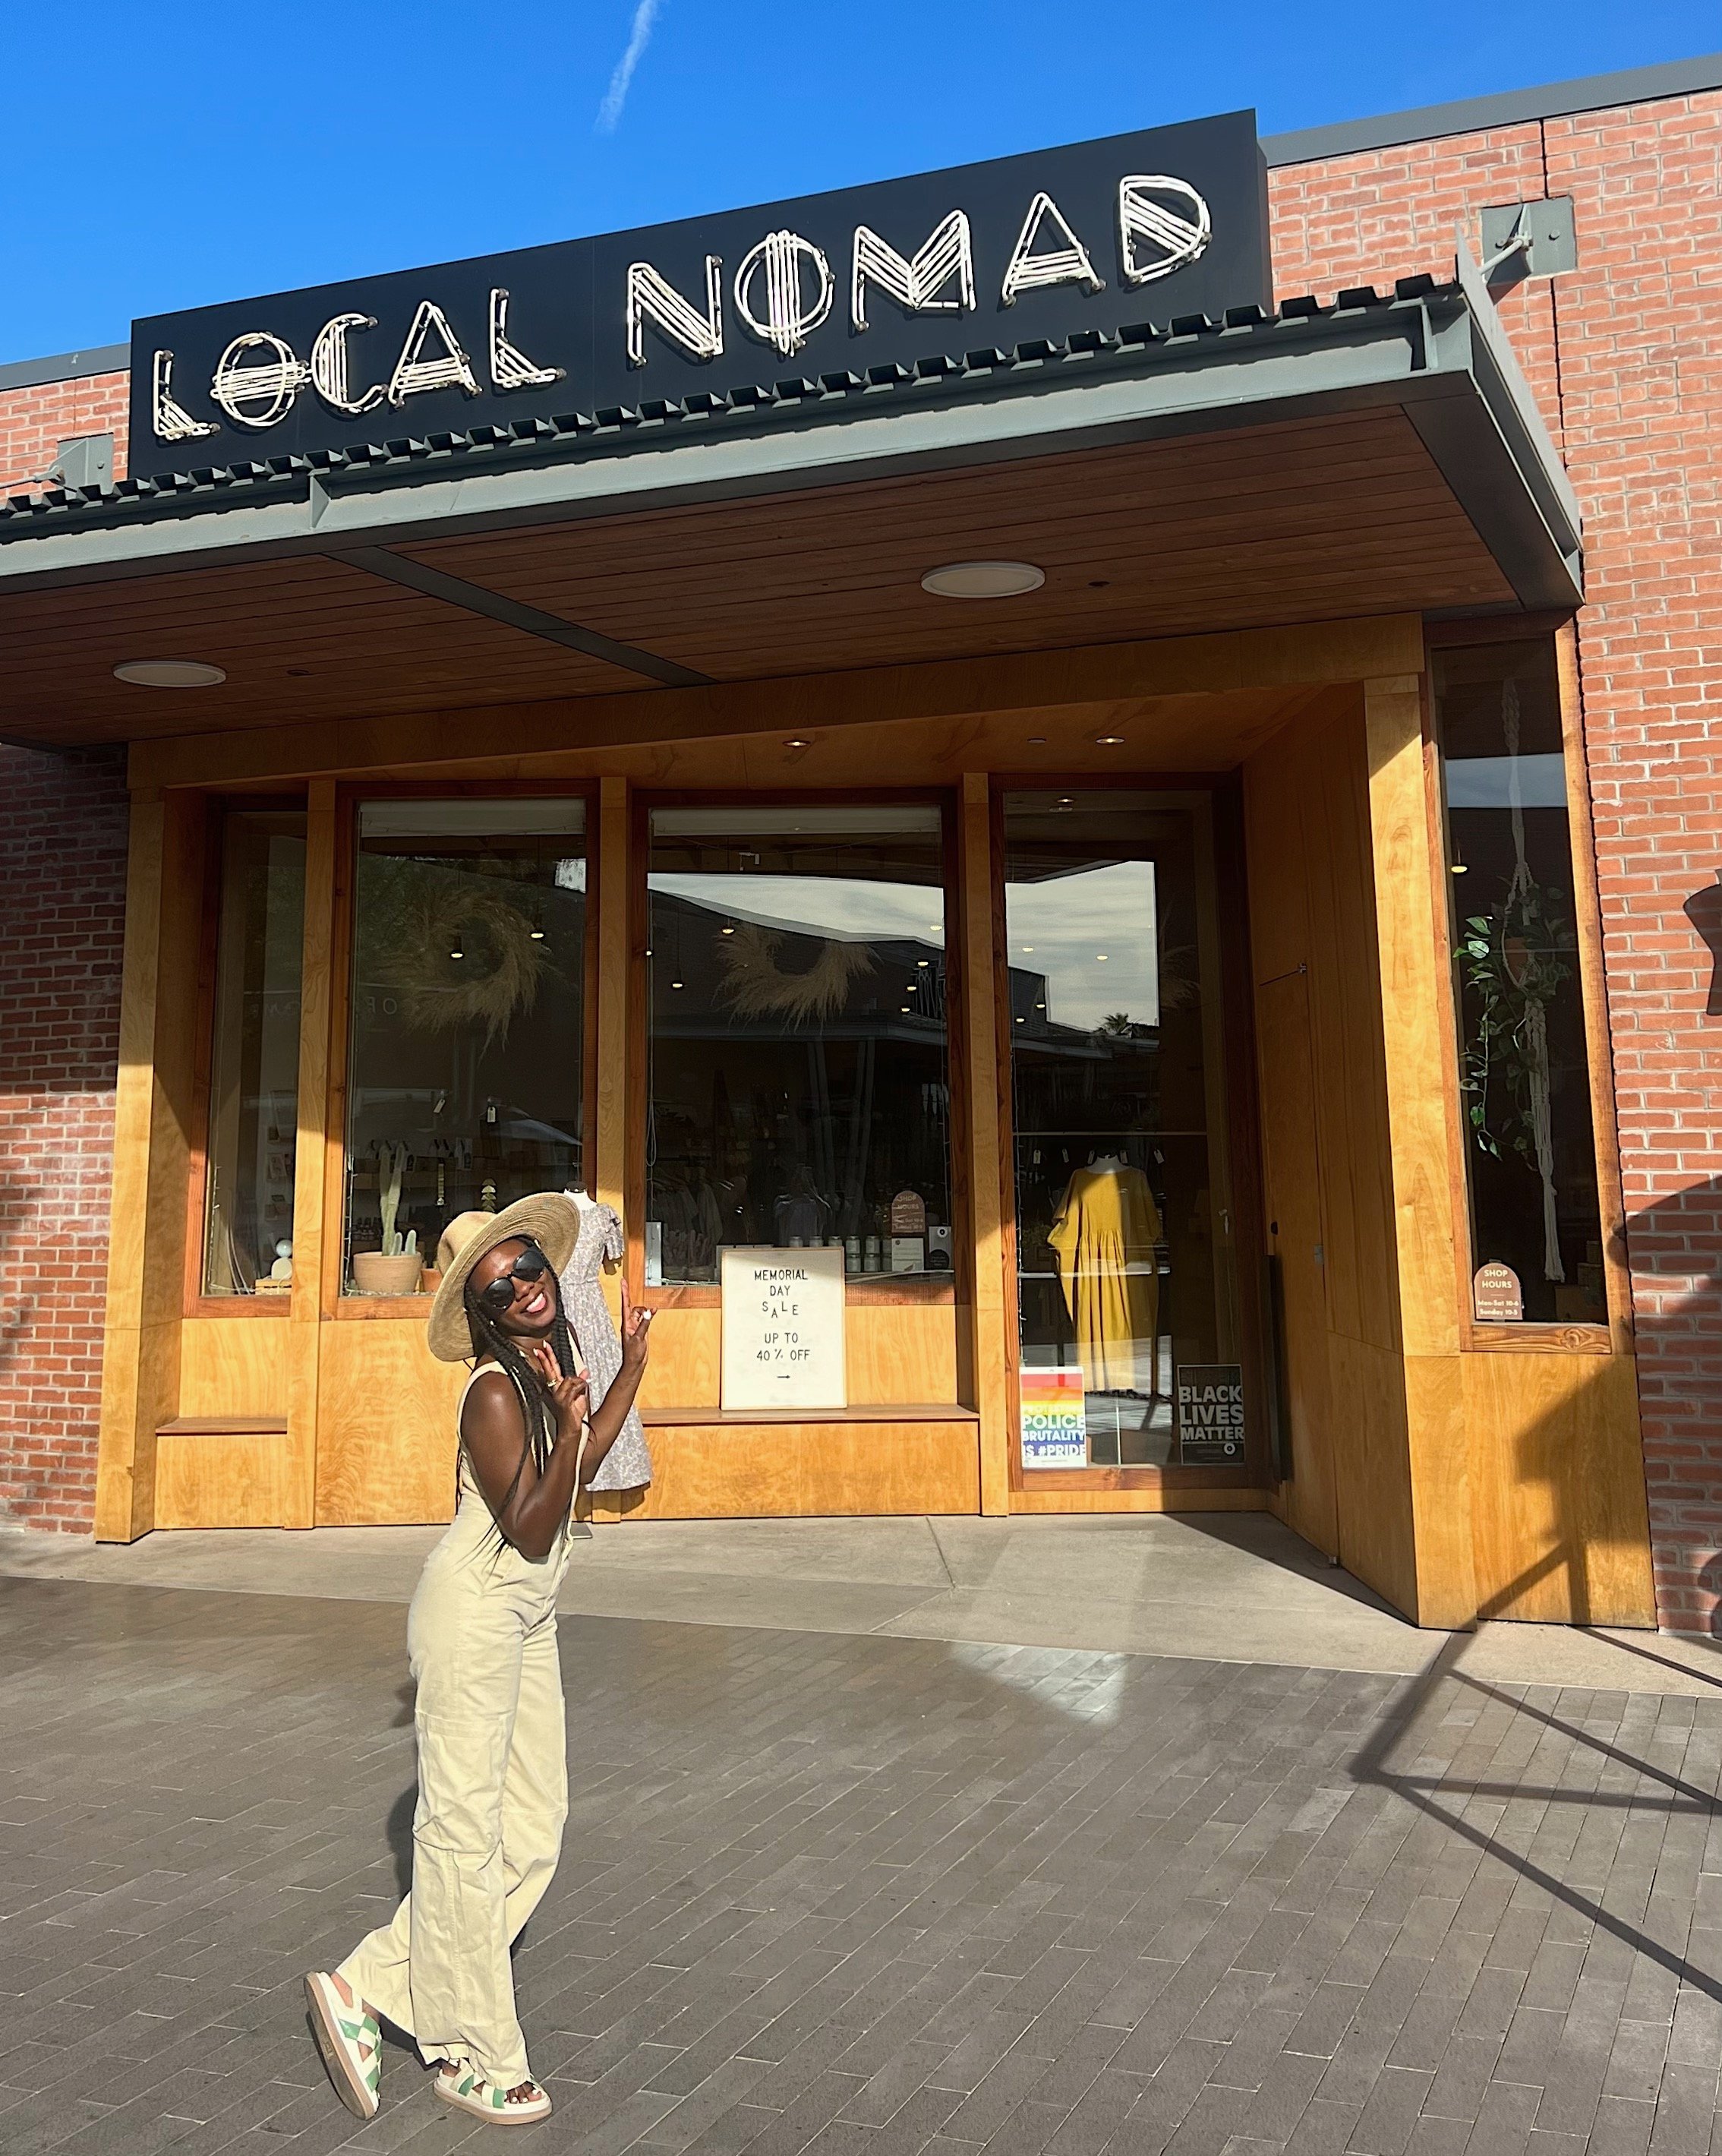
200,000/10 would recommend staying at The Rise Uptown if you’re spending time in Phoenix AZ. First, the hotel lobby is a POPSICLE STAND!! You get 2 free pops with your stay, all made by the in house chef, like come on. They had boozy, fruity and savoury flavours. To die for really. The room was comfortable, beautifully designed and gave you that boutique hotel feel. The pool club was awesome, we spent most of the second day there. Entry is free for guests, the food was excellent, get the piña colada. We spent some time in local shops, restaurants and toured the Desert Botanical Garden which was a dream.

That’s it! I hope this was helpful, we really did have a great trip. The car we rented was a tiny Honda Fit, I’d actually recommend something more powerful, possibly 4 wheel drive lol. DM me on IG with any questions.

Best,

Elena

Patio Bench Makeover featuring the BEHR® Color Trends 2021 Palette

Ah, it’s that time again! Time for a fun painting DIY! After our front porch refresh, we were looking for some additional seating for guests. I got lucky and found a second hand bench that fits right in with our current furniture. The only thing I didn’t like about it was the colour, so my DIY senses started tingling. Enter the BEHR® Color Trends 2021 Palette! I chose MODERN MOCHA N150-4, a soft brown. It’s the perfect shade for this project. Meet Modern Mocha!

I would describe Modern Mocha as a cool muted brown, it’s a very calming colour, yet inviting at the same time. Right up my alley! The colour will stand out against my white brick house, and will give the porch that oomph that it’s craving. Calling all DIYers and designers! You can explore the BEHR® Color Trends 2021 Palette here. There is so many WOW colours, perfect choices for any project, large or small, and they were all curated into a palette that helps create a sense of elevated comfort. Now that I’ve got my colour, let me show you the before bench, so you can see what I am working with.

E82719BA-BB2A-45E6-9E5E-91C1B4299F8B-93411E0C-5EAD-4AD2-8F2E-DB656599E484.JPG

What drew me to this bench was it’s unique shape and style. It conveniently folds up for easy storage, and I love the solid wood construction. All it needs is a paint makeover and BAM, new bench! So let’s take a look at the products that I will be using. Our porch is has a roof, so minimal water will actually reach the bench, however, to cover all bases and make sure that this piece is protected I chose the BEHR MARQUEE Exterior Flat paint. It’s described as a durable paint that is flexible with better adhesion and offers true colour endurance so you can enjoy the results for years to come. You can find more details on this paint here. Ok! Let’s paint! I used a 2” brush, and got to work on the large areas first. Here is how I got on:

My first thought here was WOW I love the colour! It’s so fresh, and it really brings the bench to life! The design nature of this bench, with all the little slats, made painting a bit challenging. I had to maneuver a lot of different ways to cover all the nooks and crannies. However, the Marquee paint really simplified my job! It’s so creamy and has excellent coverage, which made it easier to cover all the narrow spindles. I put on some music, jammed out and painted my first coat. I added a second coat 3 hours later. The next morning it was completely dry and it looked amazing!!! To top off, and add an extra layer of protection, I used BEHR Decorative Finish WAX in clear. The product is soft, pliable, low-odor, and easy to work with. It is designed to seal and protect your painted surface. Perfect for wood furniture! Using circular motions, I buffed it onto the bench with a an old t-shirt. The product goes on with a satin finish, and dries down matte.

And voila! The bench is complete! I wanted this piece to be the focal point of the front porch, so we placed the bench right in the middle, and flanked it with two lounge chairs. It’s the perfect entertaining set up. Modern Mocha blends well with the natural elements on the patio, and pops off perfectly against the white brick. For styling I added some cozy items like blankets and pillows, and of course topped off the design with potted plants and hanging baskets. I cannot wait to spend more evenings out here with friends and family, enjoying our new bench! I hope you all love it as much as we do, browse the BEHR® Color Trends 2021 Palette and chose a modern focused colour for your next project. #BEHRTrends2021, #21DaysOfColor #sponsored

Facetune_24-08-2020-11-15-54 2.jpg

Full Bedroom Makeover

Our close friends hadn’t touched their bedroom (decor wise) in 7 years, so, we went to work. We took their space from basically a blank space, to a warm cozy inviting bedroom that suits their personal style. Here is a look at where we started:

What I liked about this room, is that it has an amazing high celings, and white walls. I could basically start from from scratch, so I started sourcing. The couple wanted to upgrade from a queen to a king, so we went the Silk & Snow SS Mattress (gifted) you know, one of those cool mattresses in a box. I honestly could not picture going to a store, testing out the floor models, and buying a mattress anymore (lol).

Next I had to figure out the feel of the room. Take a look at the mood board I put together:

Wow looking back at that mood board again makes me so happy, because I really feel like we captured the warmth and style we were going for.

To me one of the most important things in a room isn’t even the bed, its the rug. I chose the Chunky Jute Rug from Rugs.ca (gifted). The size we got was 6x9 to accommodate the king size bed, make sure you measure twice, order once :)

3B36D9D6-7507-417F-AD31-504C2E8C326E-7020-00000481486E735F.JPG

To top things off, we got the best bedding you can get, the internet’s favourite bedding, linen sheets from Brooklinen (gifted). They are the perfect complement for the West Elm bed and night stands.

I wanted to create a big bang, a main focal point, when you walk into the room, BAM you see it. So I enlisted the help of amazing florist @bloom.scout. She dried that big beautiful palm you see front and centre. I contacted her and asked her if she knew where i could get a GIANT palm frond, and was surprised when she said ‘I HAVE ONE’. I was like yessssssss. The room would not be the same without it. If you are in the General Toronto Area, hit her up for all your flower/plant/foliage needs, the California Pampas Grass is also from her shop :)

1A01A79F-63E3-491A-9A10-3B49F2768B46-9110-000005AC7D4B5813.JPG

Once those big important pieces were down pact, it was time for the finishing touches, I added a rattan mirror from Resident Supply and cushions from H&M Home. Some little vases from Ikea, plants, and a shag rug from Costco and we were done.

I am so happy with the result! Ok, enough blah blah, here are the reveal shots. Email me at thishouse5000@gmail for all inquiries.

00CCFFE5-BBDB-429E-8ECD-06B5B47AED8E-9110-000005AC802046EC.JPG

Bedroom Throwback

The photo you see above is soooooooo farrrrrrr away from where we started. I’m going to keep this post short and sweet, but I wanted to share a bit of the journey to get here. First of all, here are the before pics:

Yikes, I know. We bought the house in 2015, and CLEARLY a lot has happened since. The last renovation took place in the late 1970s, we know this because the previous owner told us, and he owned the home for 50+ years. Nothing had been updated, the plaster walls and ceilings were cracked, patched, cracked, and patched up some more. So we had a crew came in, and demolition started in the master bedroom. When the ceiling was torn down, we found this:

A natural vault! YES! We started seeing the potential for something really special. We had some experts come in and give us advice on how to make this vault a reality. The decision was made to keep the original brick wall exposed, and to let more light in, we planned skylights. Initially the skylights were supposed to be vertical, like a north/south set up. But because you need a clearance of 2 ft between the skylight and the roof, it was MY idea to build them in east west. SO GLAD.

I had pinned the Scandinavian style window boxes, and with a lot of time and harrrrrrd work, my vision came to life :) This room is the brightest in the house, it’s so cozy, and definitely a focal point in our home. Any questions? Leave me a comment!

Thanks y’all, I really appreciate you!

Elena ♥️

Links to items found in the photos:

Pampas Grass

Throw Blanket

Sheepskin Rug

Frames and Prints

Blanket Ladder

Rattan Basket

Linen Quilt

Photography by @thishouse5000

Photography by @thishouse5000